Create a Linux Mint 21 bootable USB flash drive
Prereqs
- USB flash drive that can hold the Linux Mint 21 installation files
- a PC (BIOS/UEFI) running Windows 11 or Linux Mint 21
- internet connection
Download ISO
Note VDAB students
The Linux Mint .ISO file is already in the local "Downloads" folder of your Windows lab PC, so skip these steps!
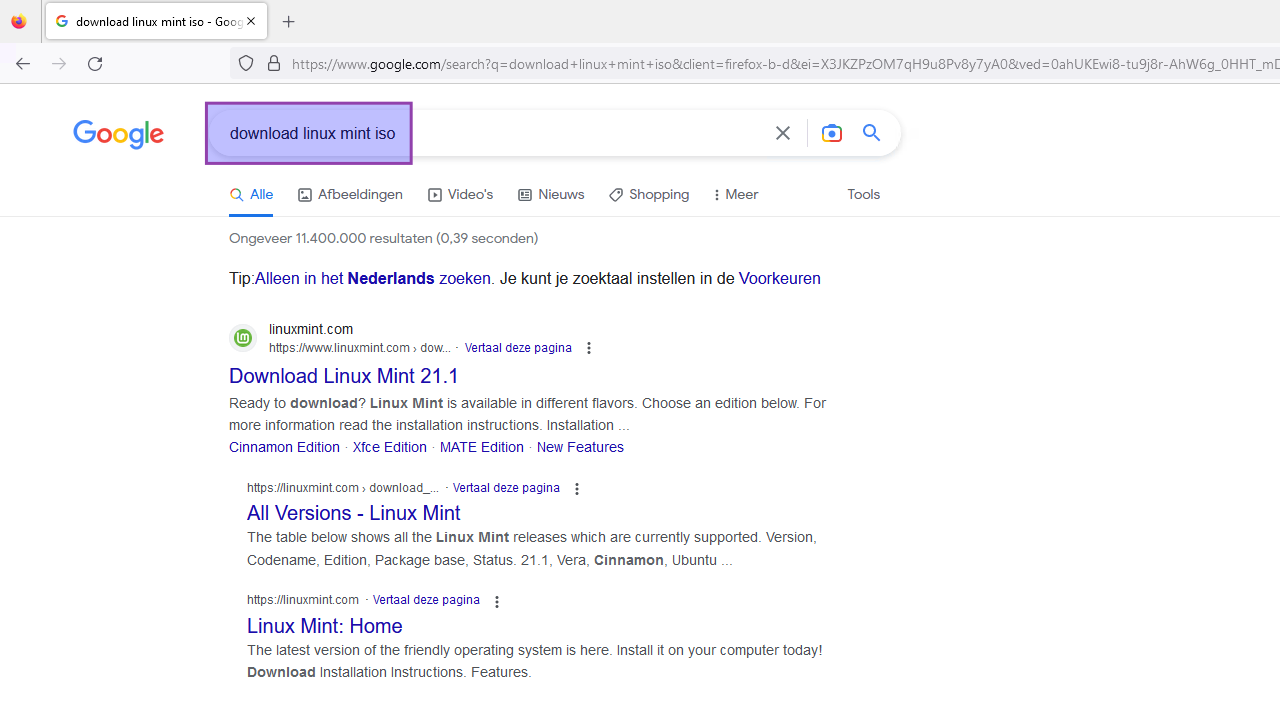
Use your favorite search engine to search for the Linux Mint 21 iso and choose the official Linux Mint website. At the time of writing, Linux Mint 21.1 is the most recent version. It it possible a more recent version is already out, when you read this. This howto still uses the Linux mint 21 Cinnamon edition
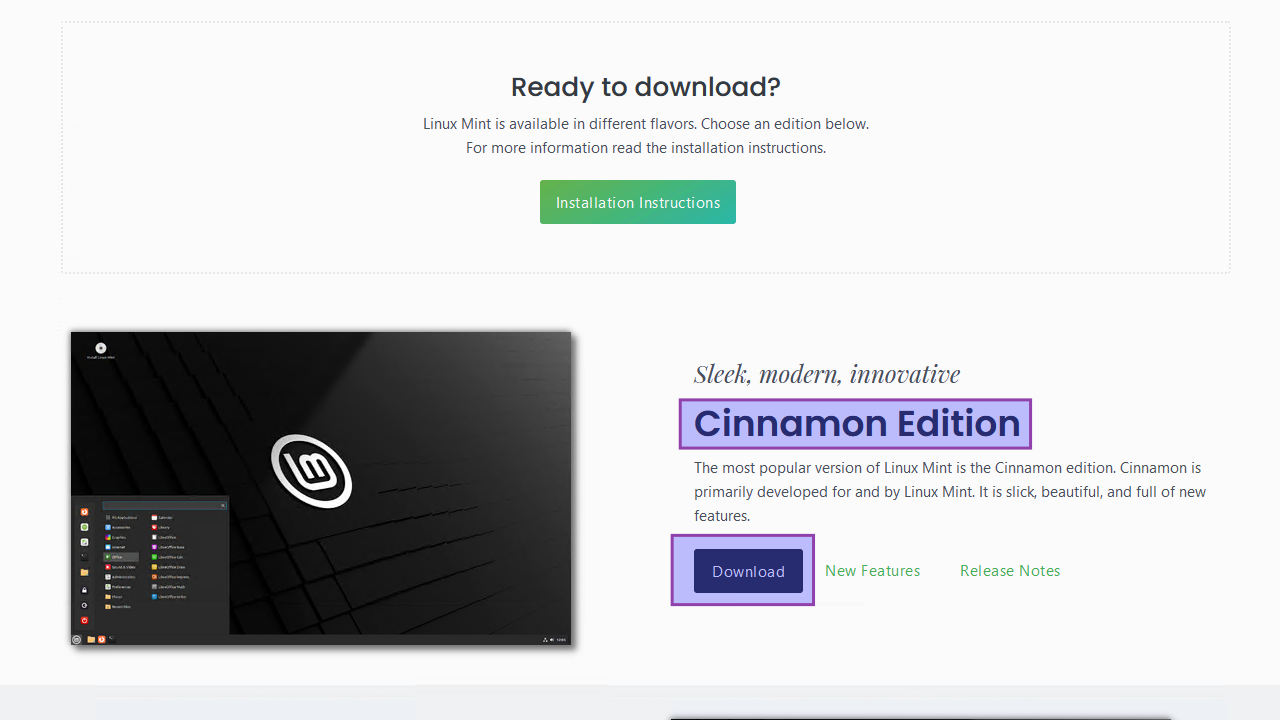
Select the "Cinnamon Edition".
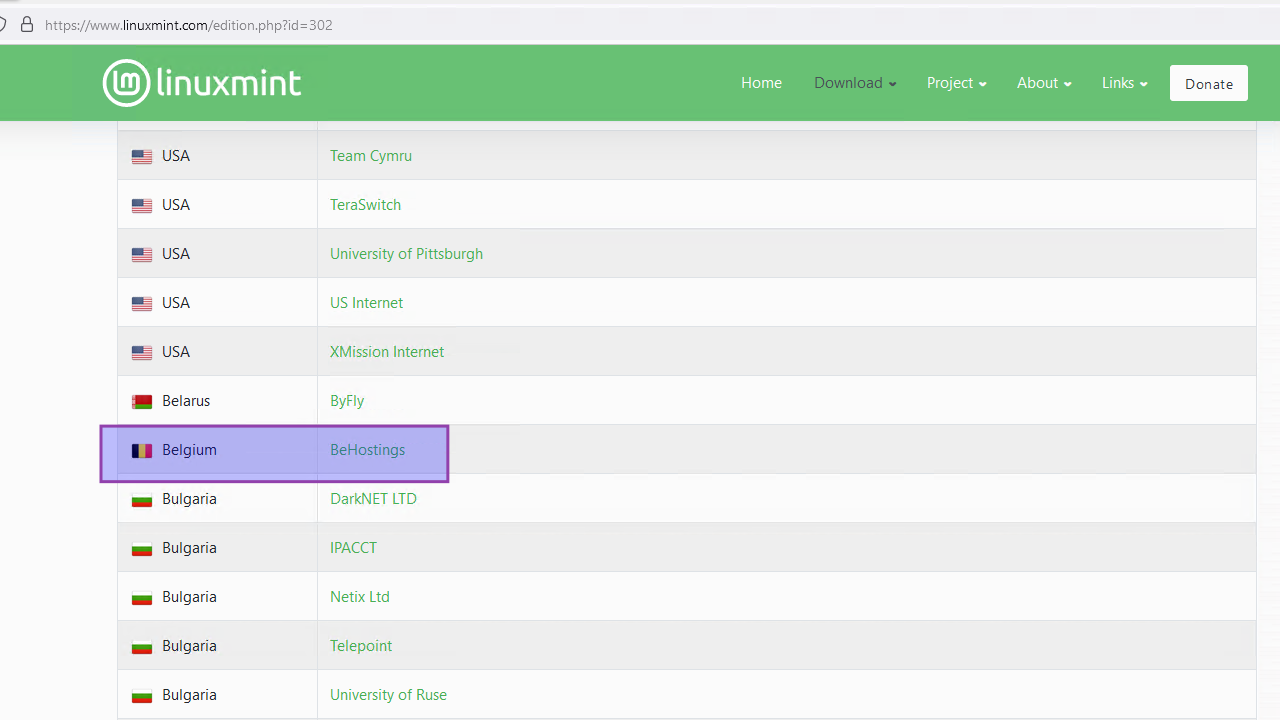
Choose your favorite download mirror. The ISO file will be saved to your local disk.
On Windows 11
With Rufus
Download and install Rufus
Note VDAB students
Rufus is already installed on your Windows lab PC, so skip these steps!
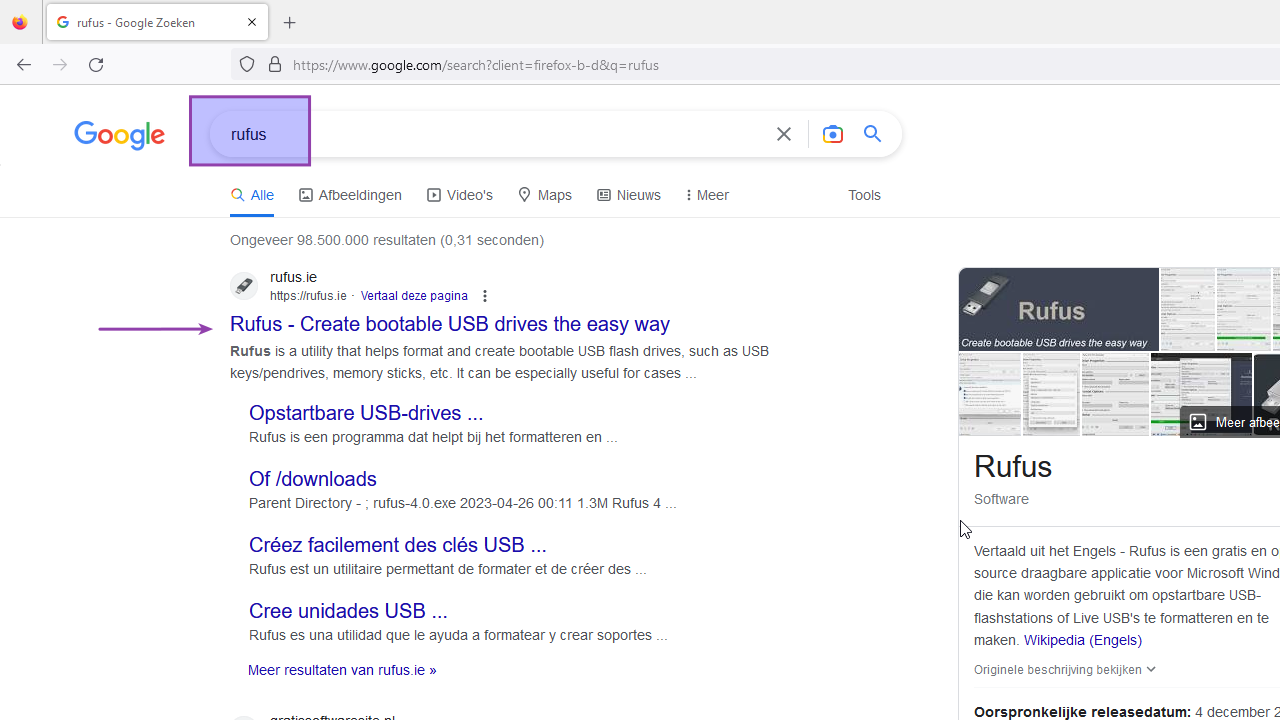
Use your favorite search engine to search for Rufus and choose the official website.
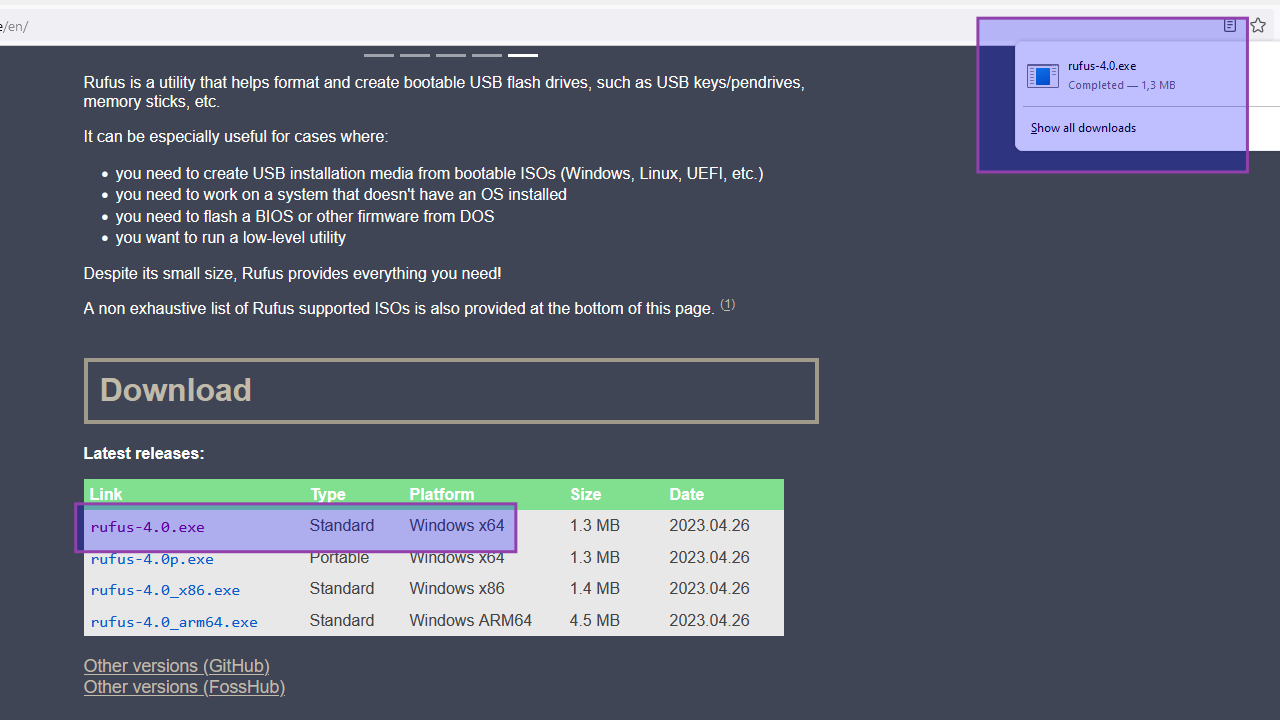
Click the current "standard" installer version. The file will be saved to your local disk.
Execute the installer and allow for changes.

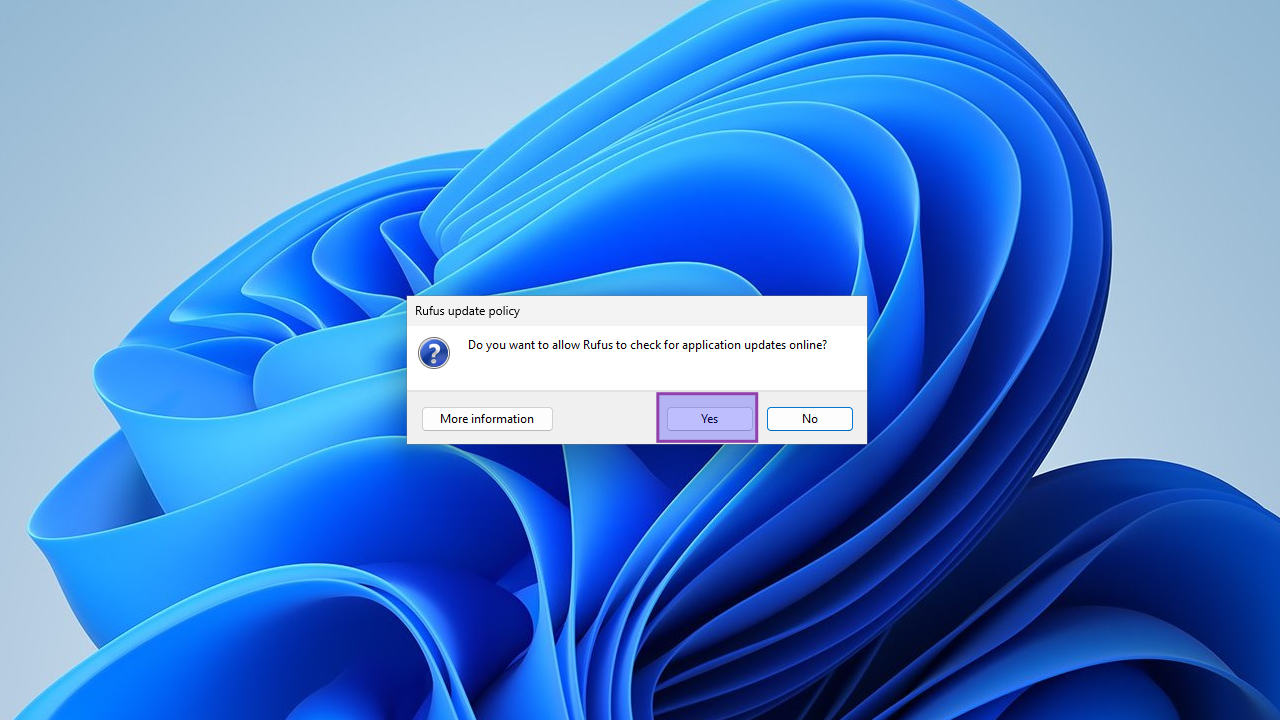
Allow Rufus to check for updates.
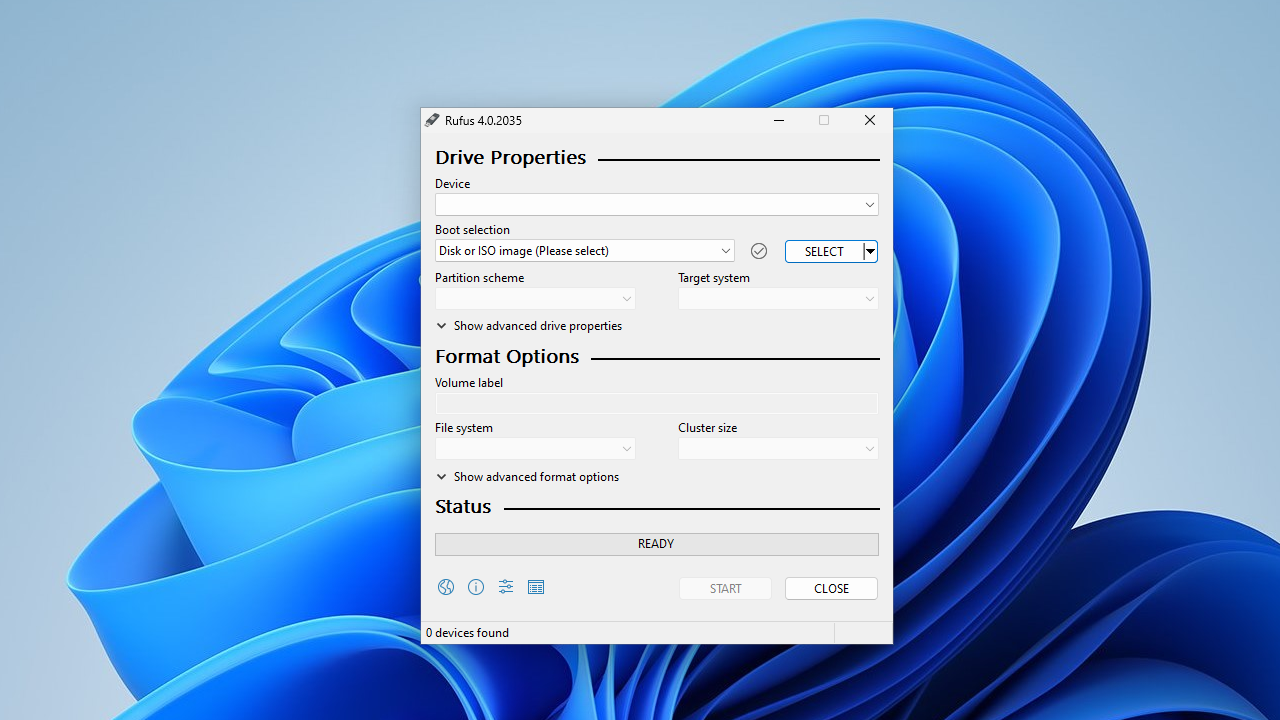
Done. Installation finished.
For BIOS (or UEFI-CSM)
Note VDAB students
The PC that you will install is an UEFI system, so don't use these steps!
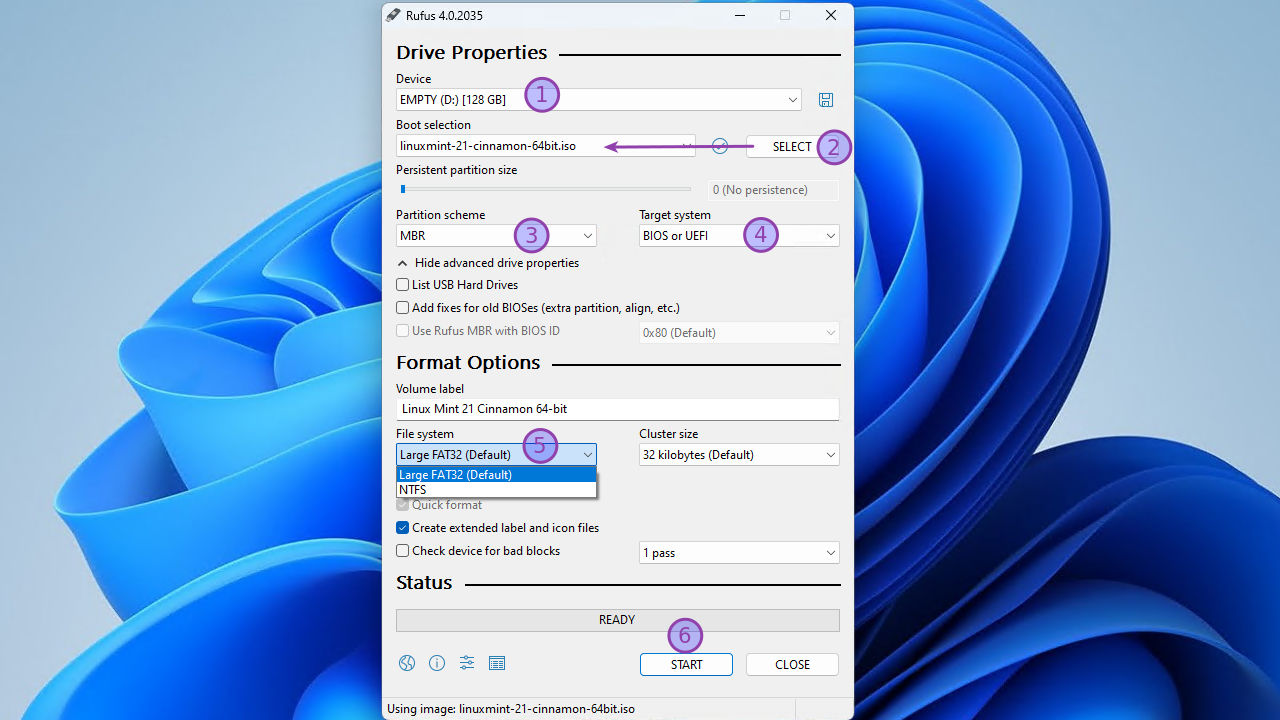
- Insert the USB flash drive
- Navigate to and select the Linux Mint 21 ISO file
- Choose "MBR" as partition scheme
- Select "BIOS or UEFI" as target system
- Select "Large FAT32 (Default)" as file system
- Click "Start"
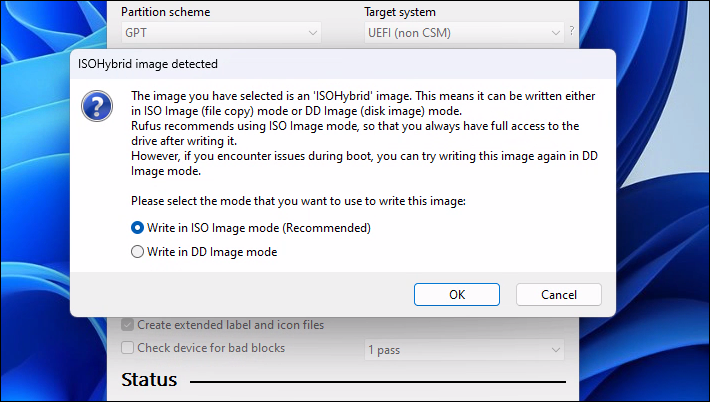
Select "Write in ISO Image mode (Recommended).
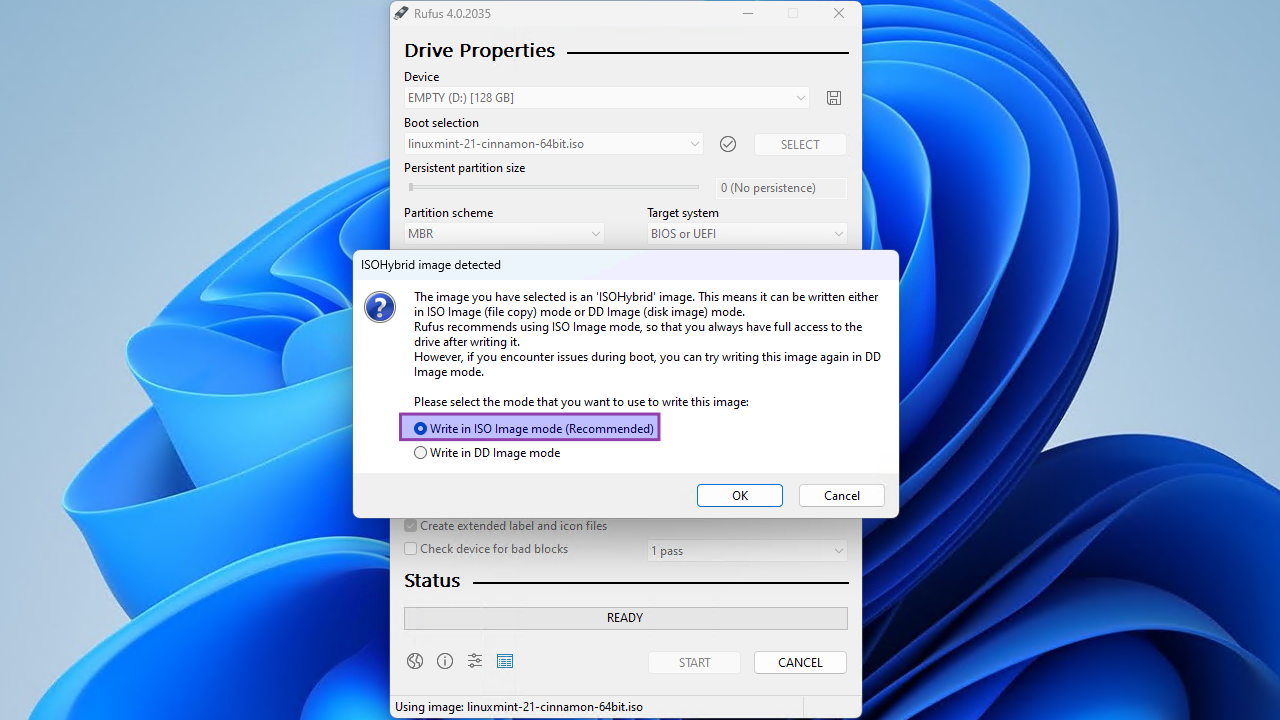
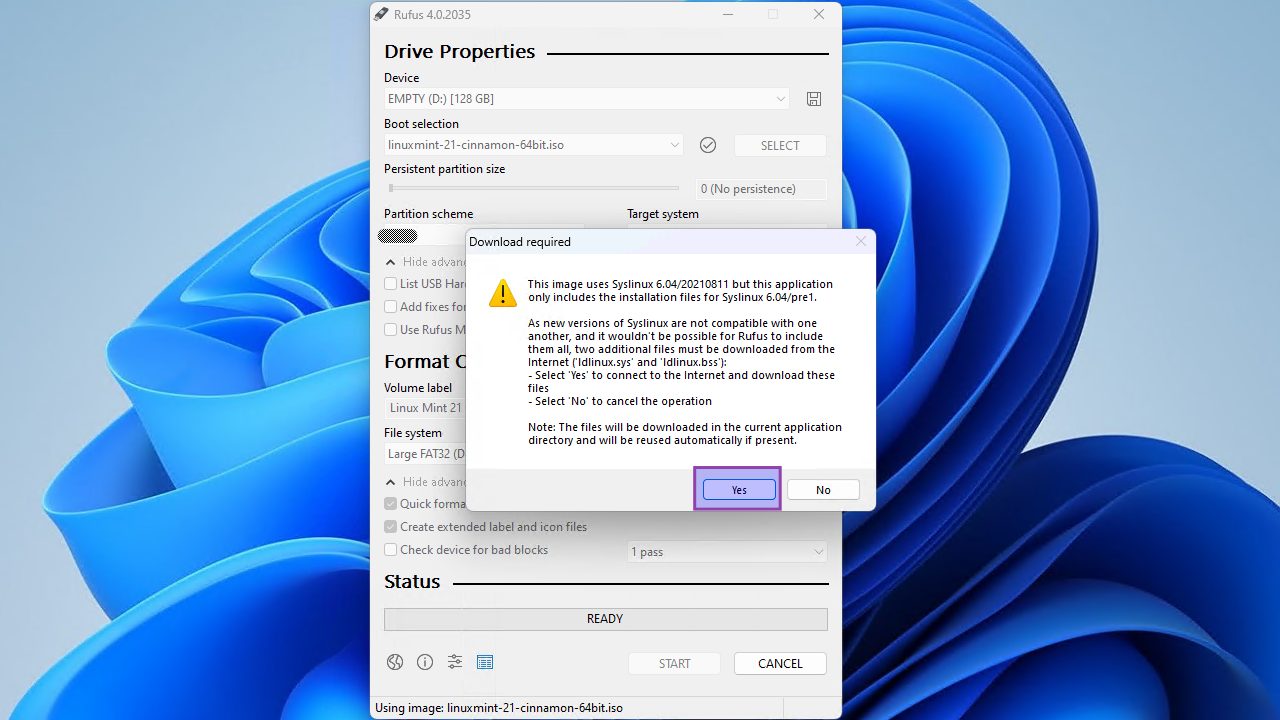
Let Rufus download the latest syslinux files (if asked).

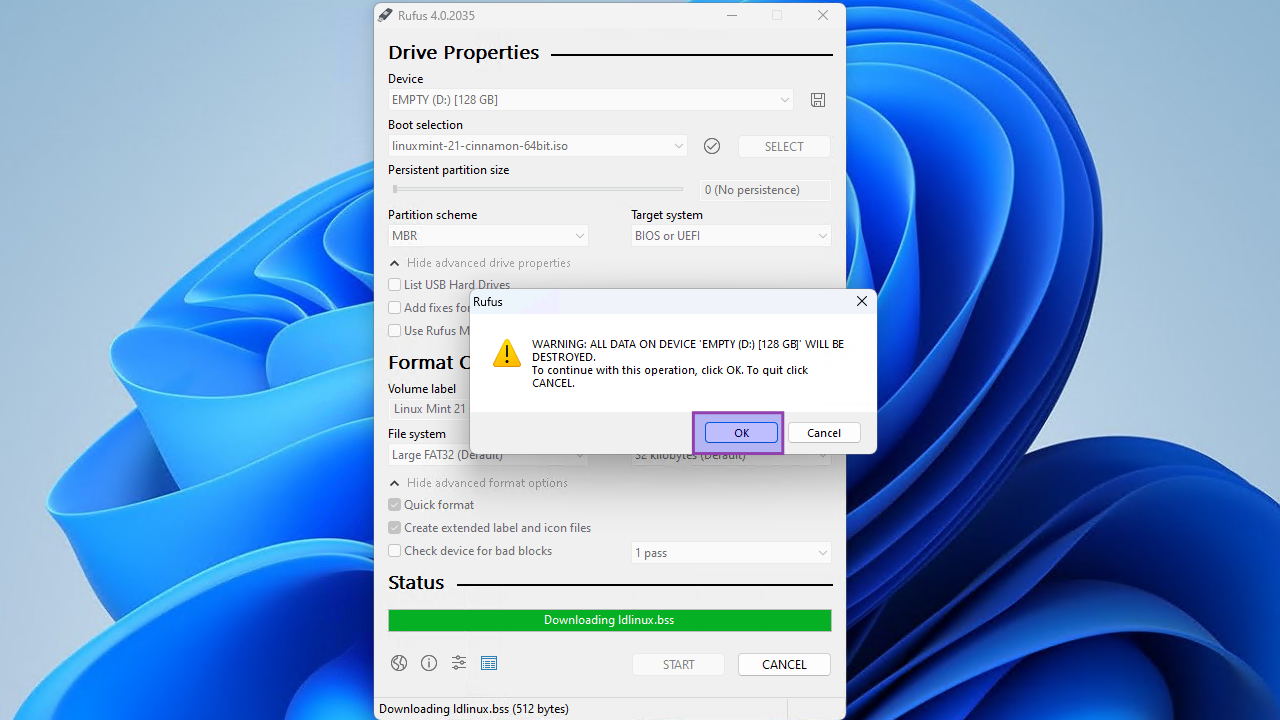
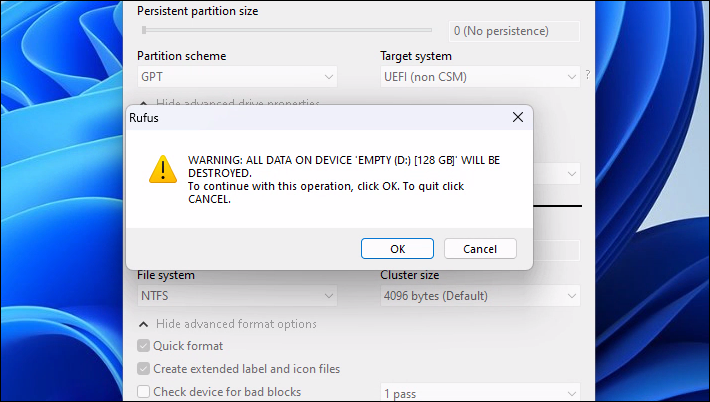
Click "OK" to confirm the USB’s deletion and the bootable drive’s creation.
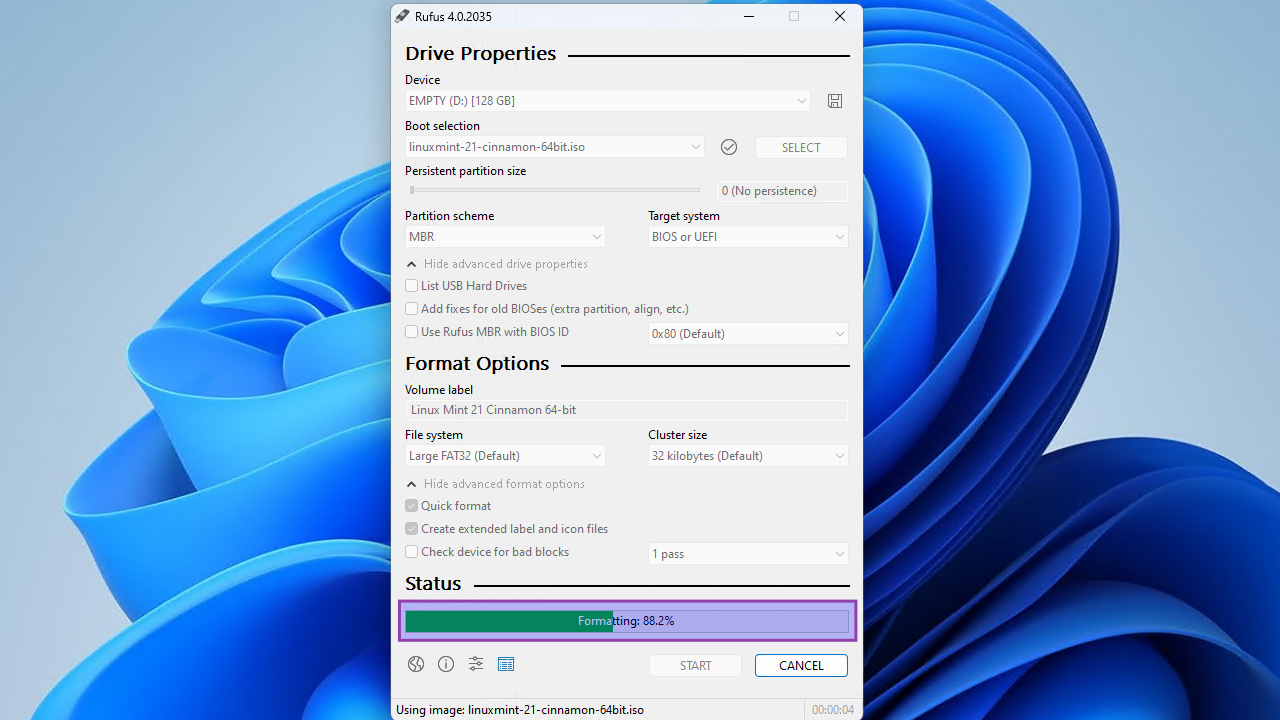
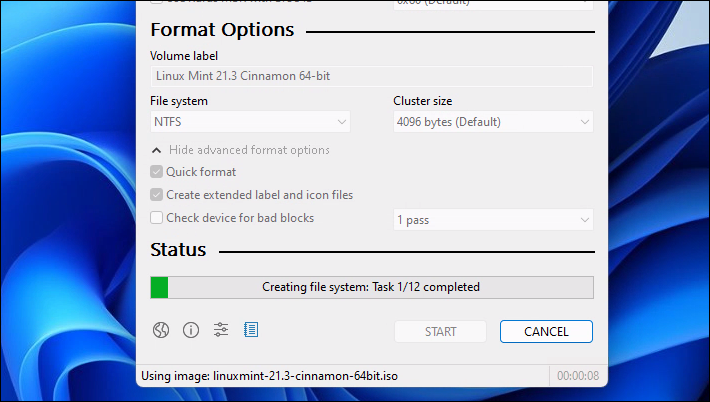
Time to grab a coffee. Wait until the status is "Ready".
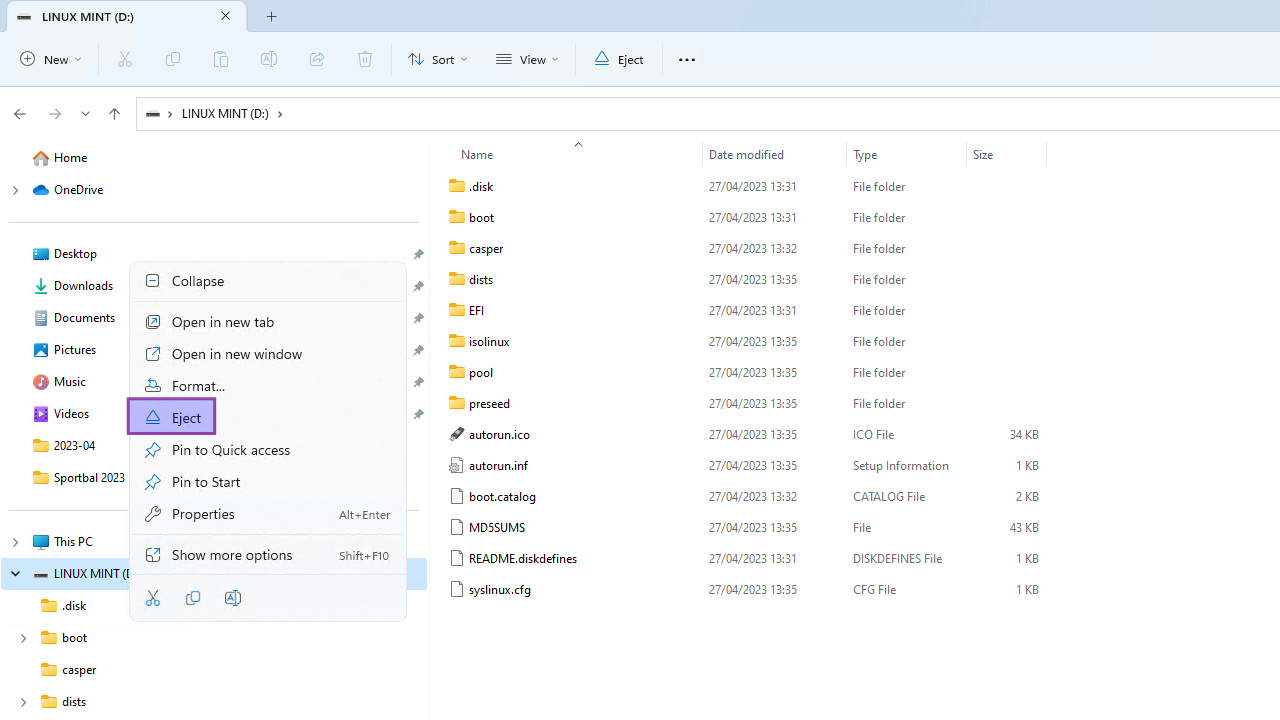
Close Rufus and eject the USB media.

For UEFI (non-CSM)
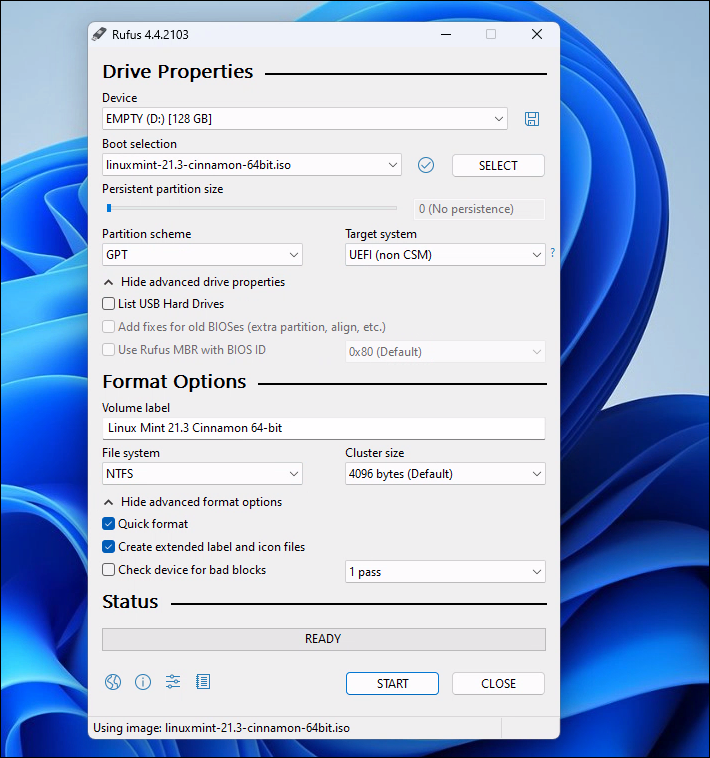
- Insert a USB flash drive with enough space
- Navigate to and select the Linux Mint 21 ISO file
- Choose "GPT" as partition scheme
- Select "UEFI (non-CSM)" as target system
- Select "NTFS" as file system
- Click "Start"
Select "Write in ISO Image mode (Recommended)".
If asked, let Rufus download the latest syslinux files. Otherwise, skip this step.
Click "OK" to confirm the USB’s deletion and the bootable drive’s creation.
Time to grab a coffee. Wait until the status is "Ready".
Close Rufus and eject the USB media.
With Etcher
Todo...
On Linux Mint 21
Todo...