Configure Windows 11
Activation
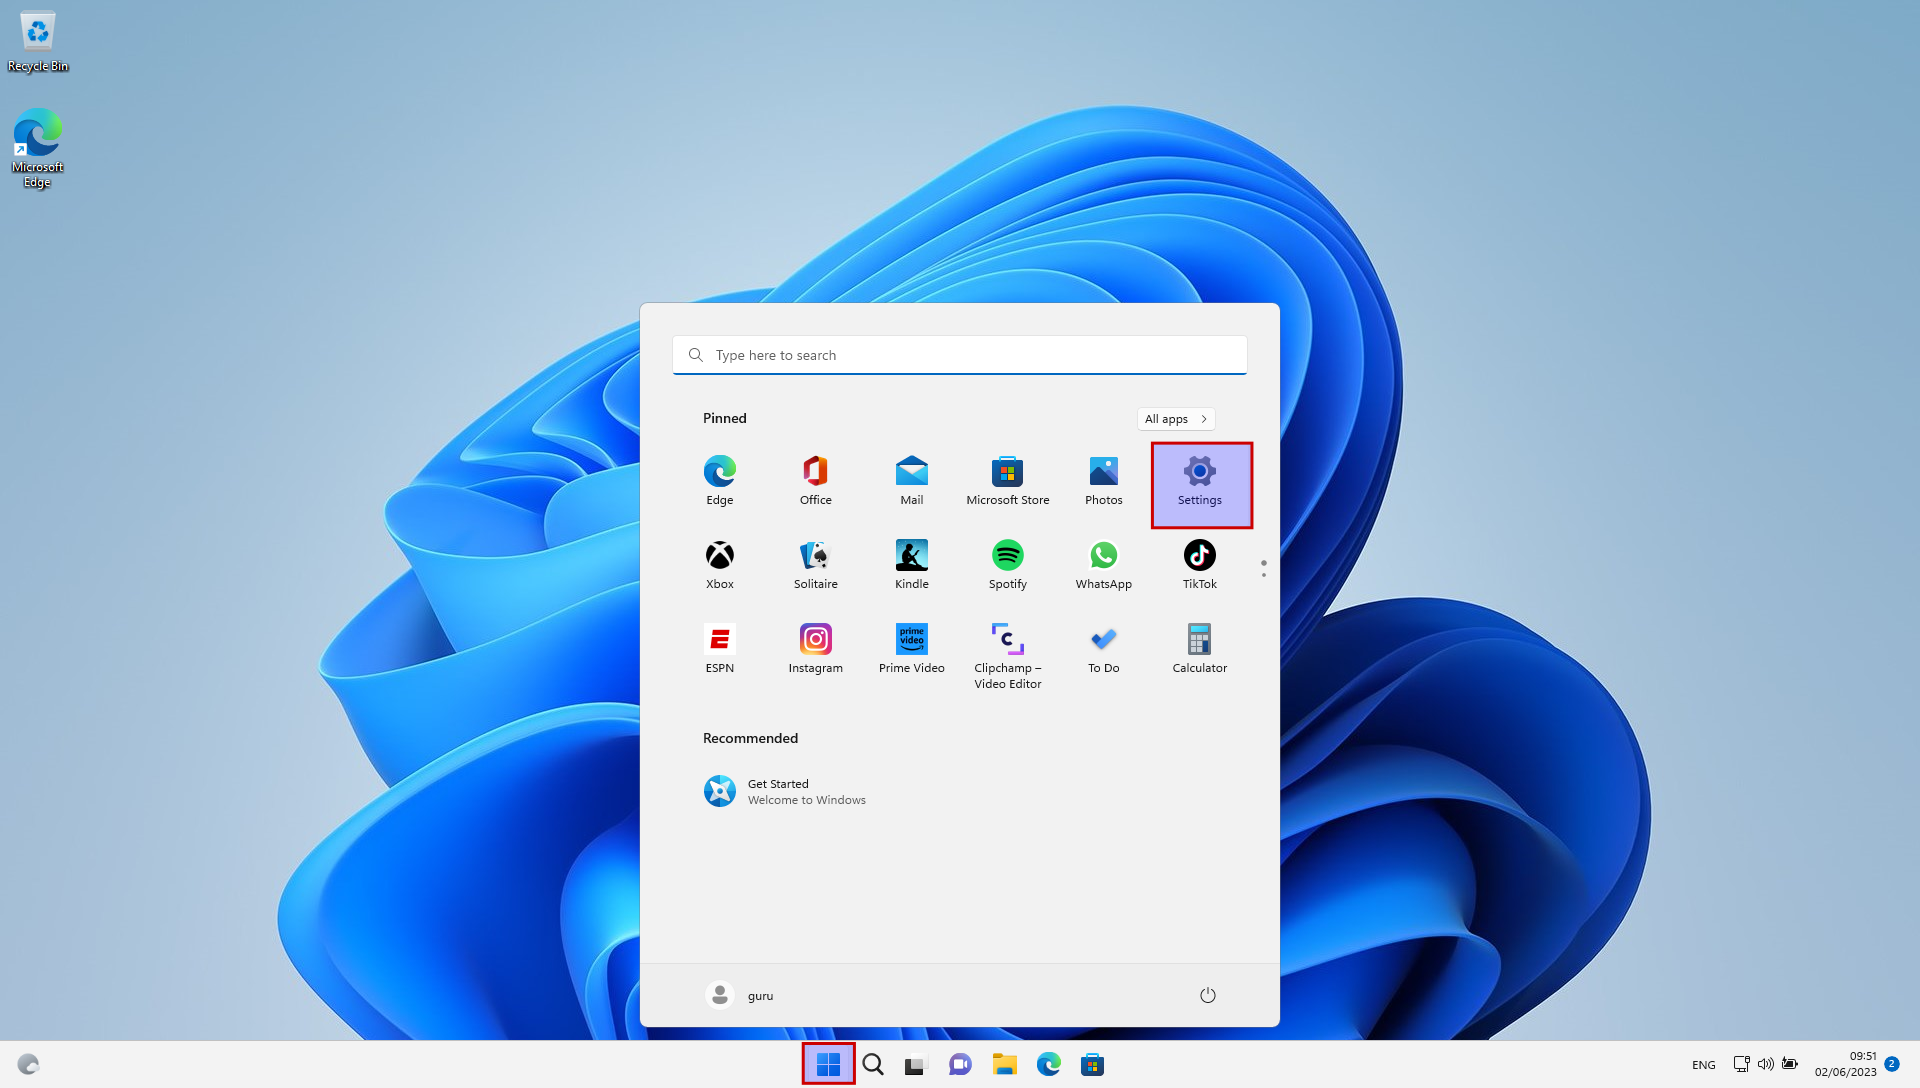
Click on the "Start" button. Then click on the gear icon labeled "Settings" to open the Settings app.
In the Settings app, click on the "System" category.

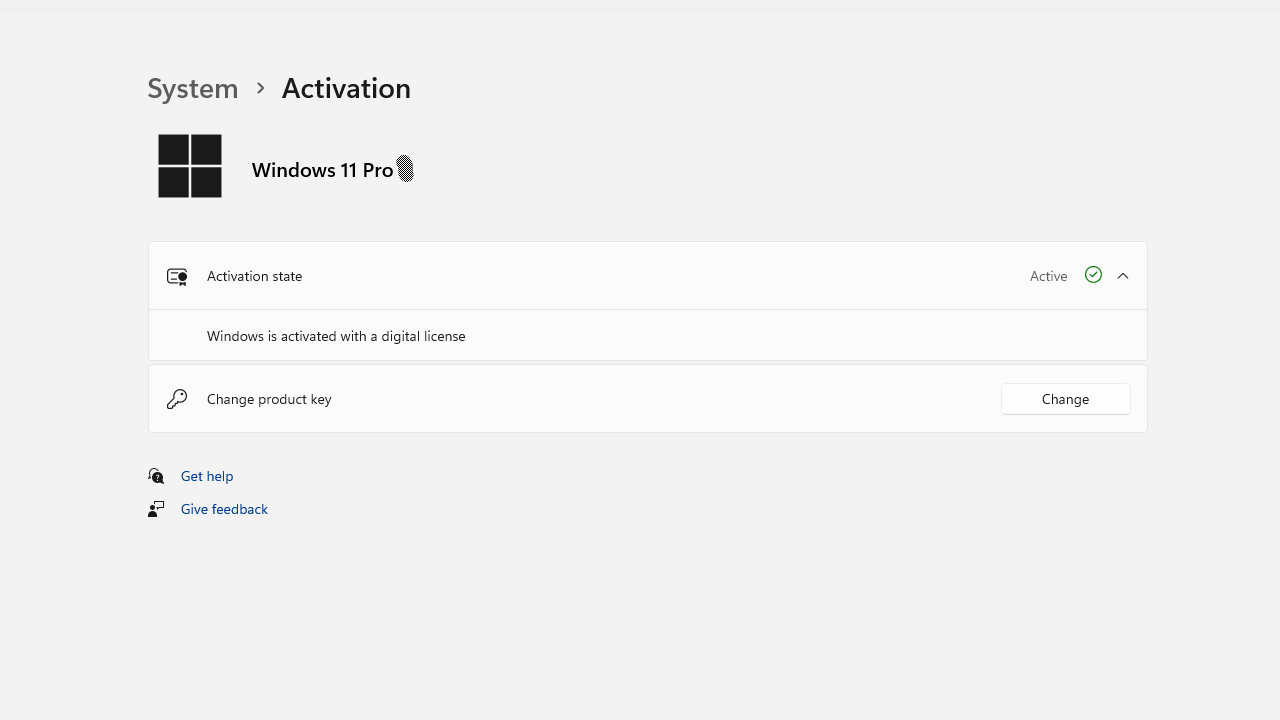
On the right, click on the "Activation" option. This will open the Activation page where you can view the activation status. Here it says: "Windows is activated with a digital license". Consult official Microsoft documentation for your situation.
Device drivers
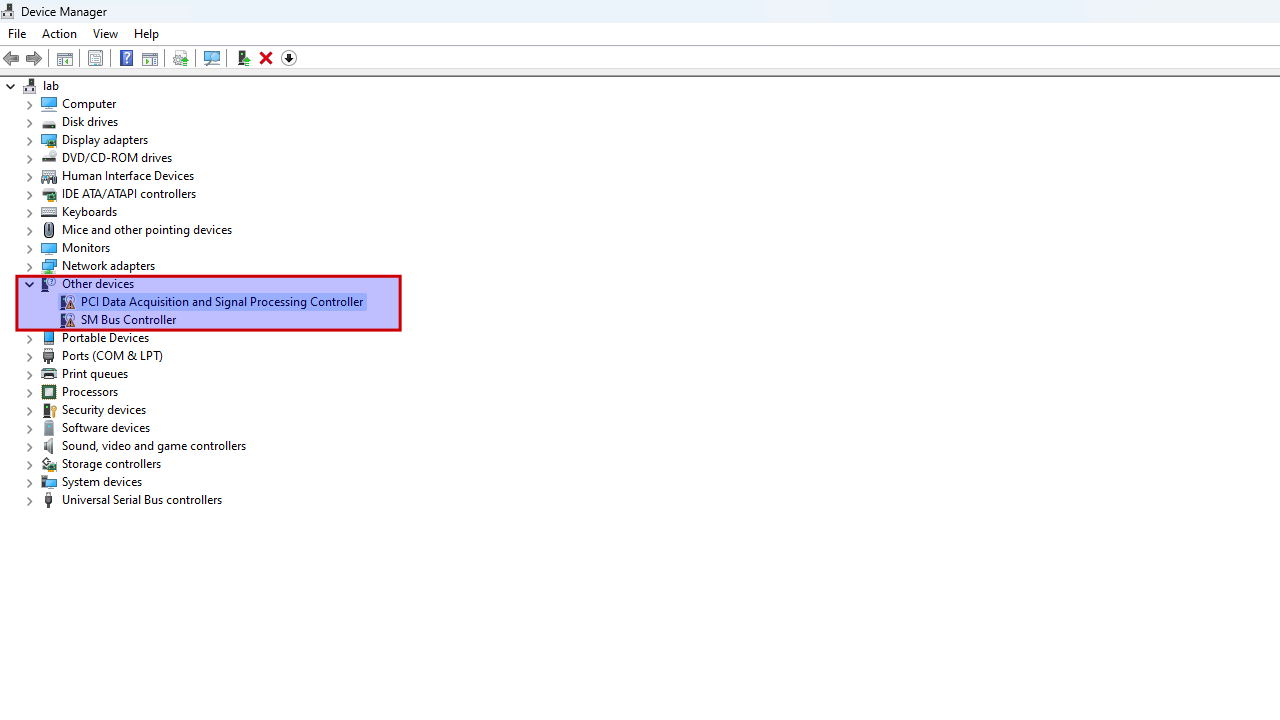
For a "Fujitsu Esprimo E920", some hardware is not yet properly recognized. Specifics vary from computer to computer.
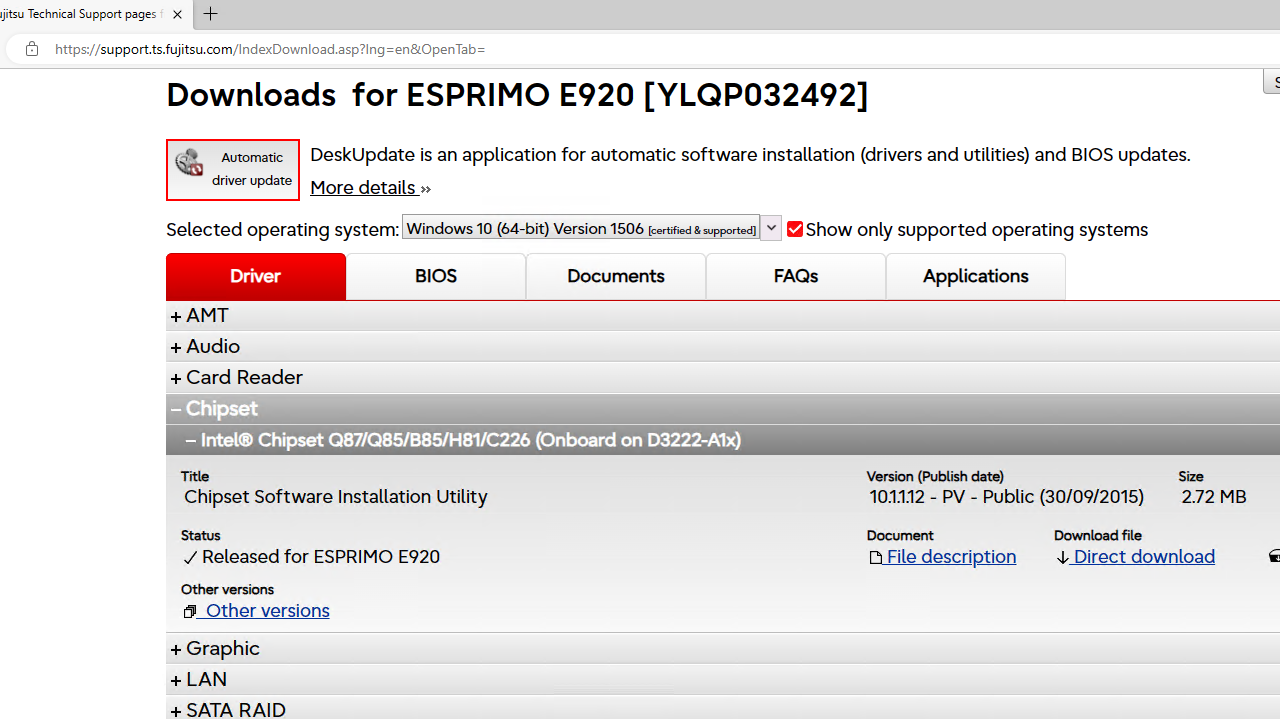
The correct drivers - even for Windows 11 - can only be found when "Windows 10 (64-bit) Version 1506" is selected in the dropdown box. When the "chipset software installation utility" was downloaded and installed, all hardware was properly recognized.
Updates
Click on the "Start" button. Then click on the gear icon labeled "Settings" to open the Settings app.
In the Settings app, click on the "Windows Update" category.
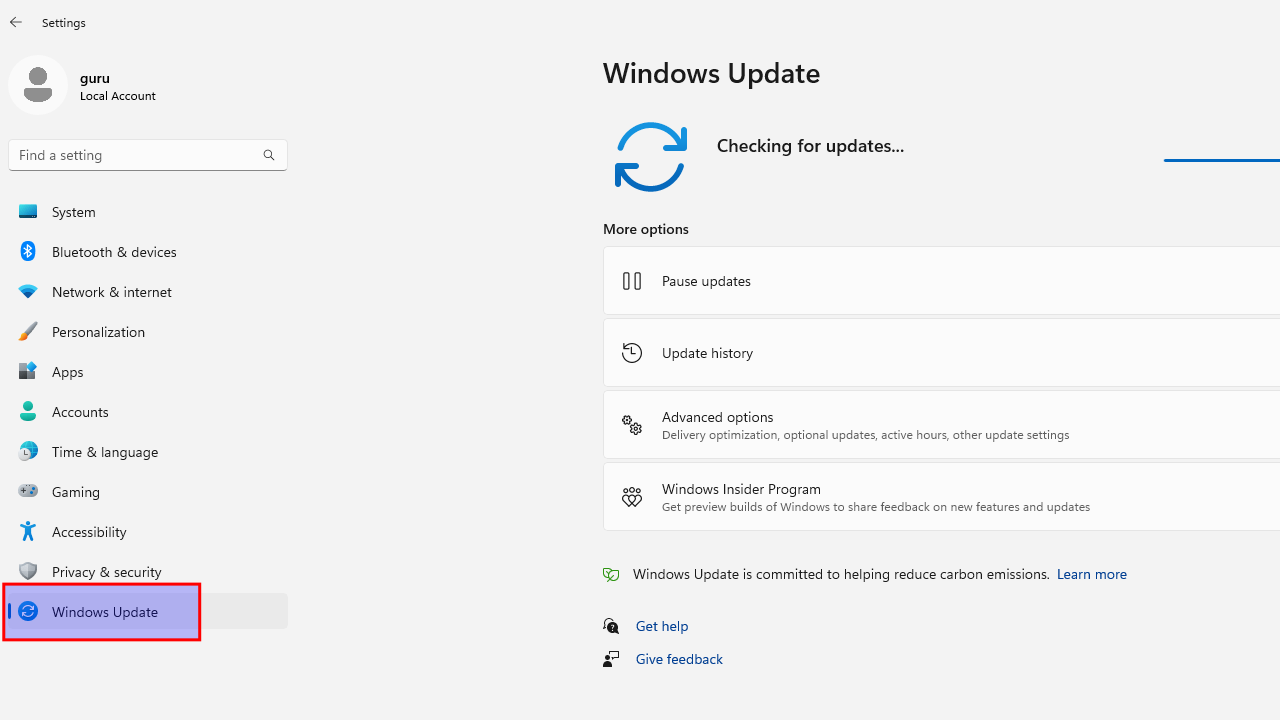
On the Windows Update page, click on the "Check for updates" button. This will initiate a check for available updates for your Windows 11 installation.
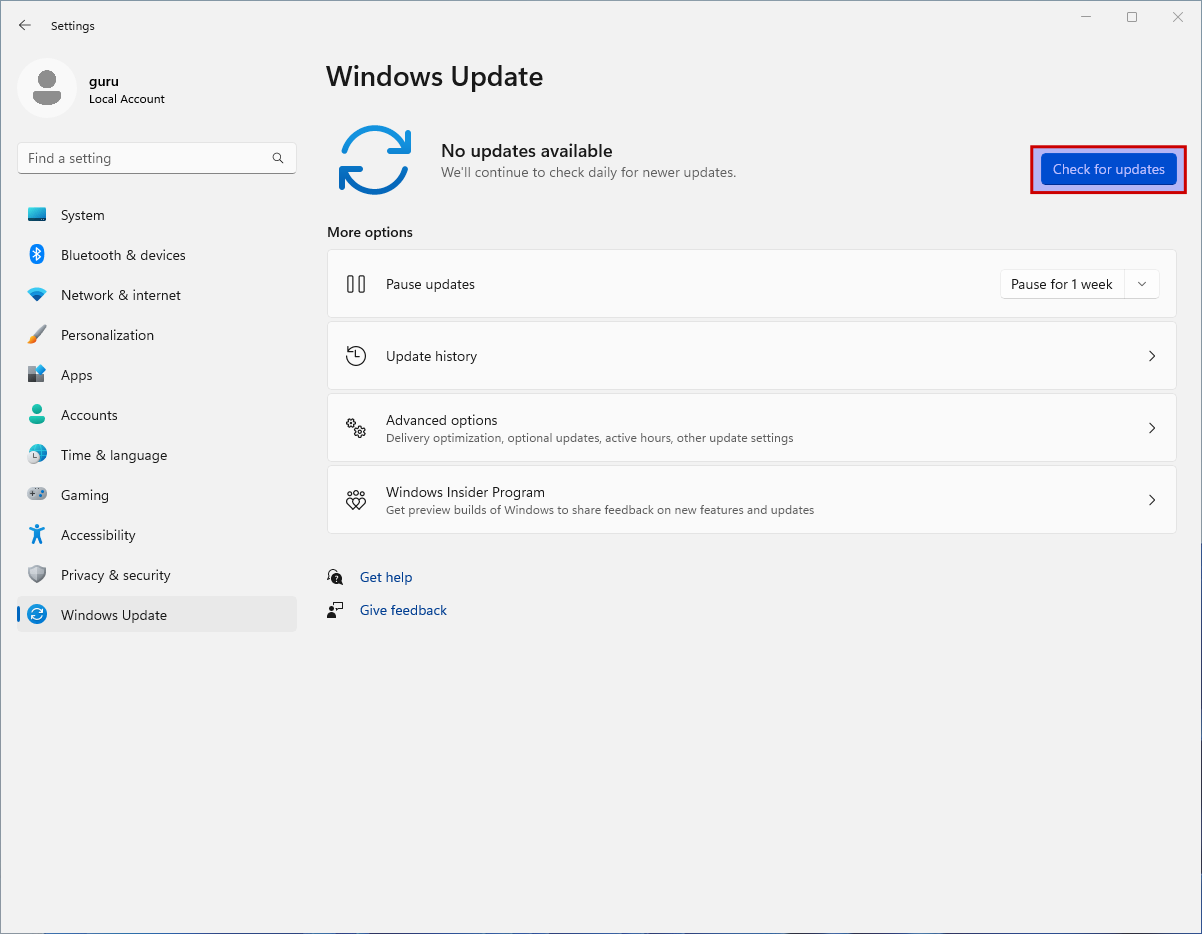
If any updates are found, downloading begins automatically. After the updates are downloaded, Windows may prompt you to restart your computer to install them. Reboot.
Once your computer restarts, Windows will automatically install the downloaded updates. This process may take some time, and your computer may restart multiple times during the installation.

After the initial set of updates is installed, it's a good idea to check for updates again to ensure that your system is fully up to date. Repeat previous steps to check for any additional updates that may be available.

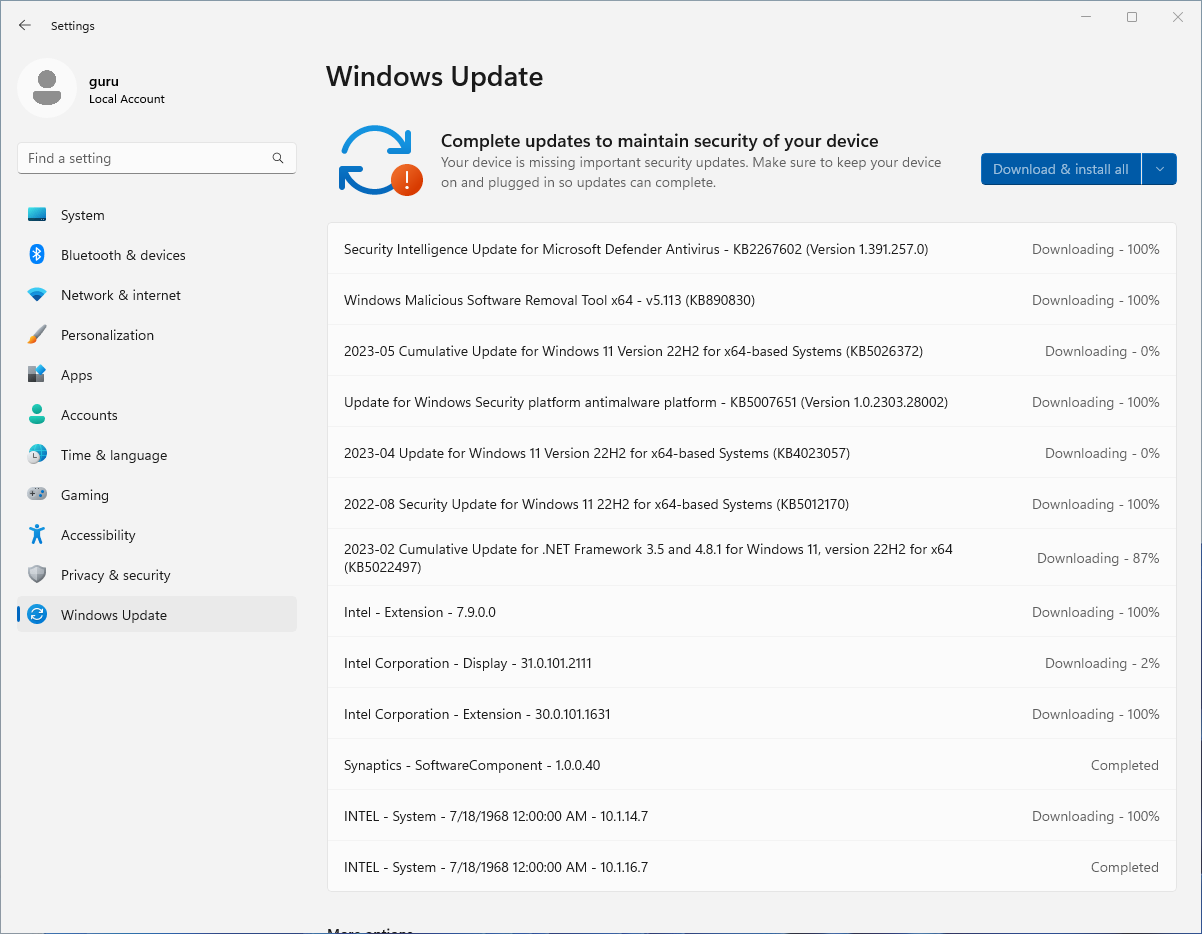
Once all the updates are installed, you can verify the Windows 11 version and update status by going to the Settings app, clicking on the "System" category, and then selecting "About". Here, you can see the installed version of Windows 11 and confirm that your system is up to date.
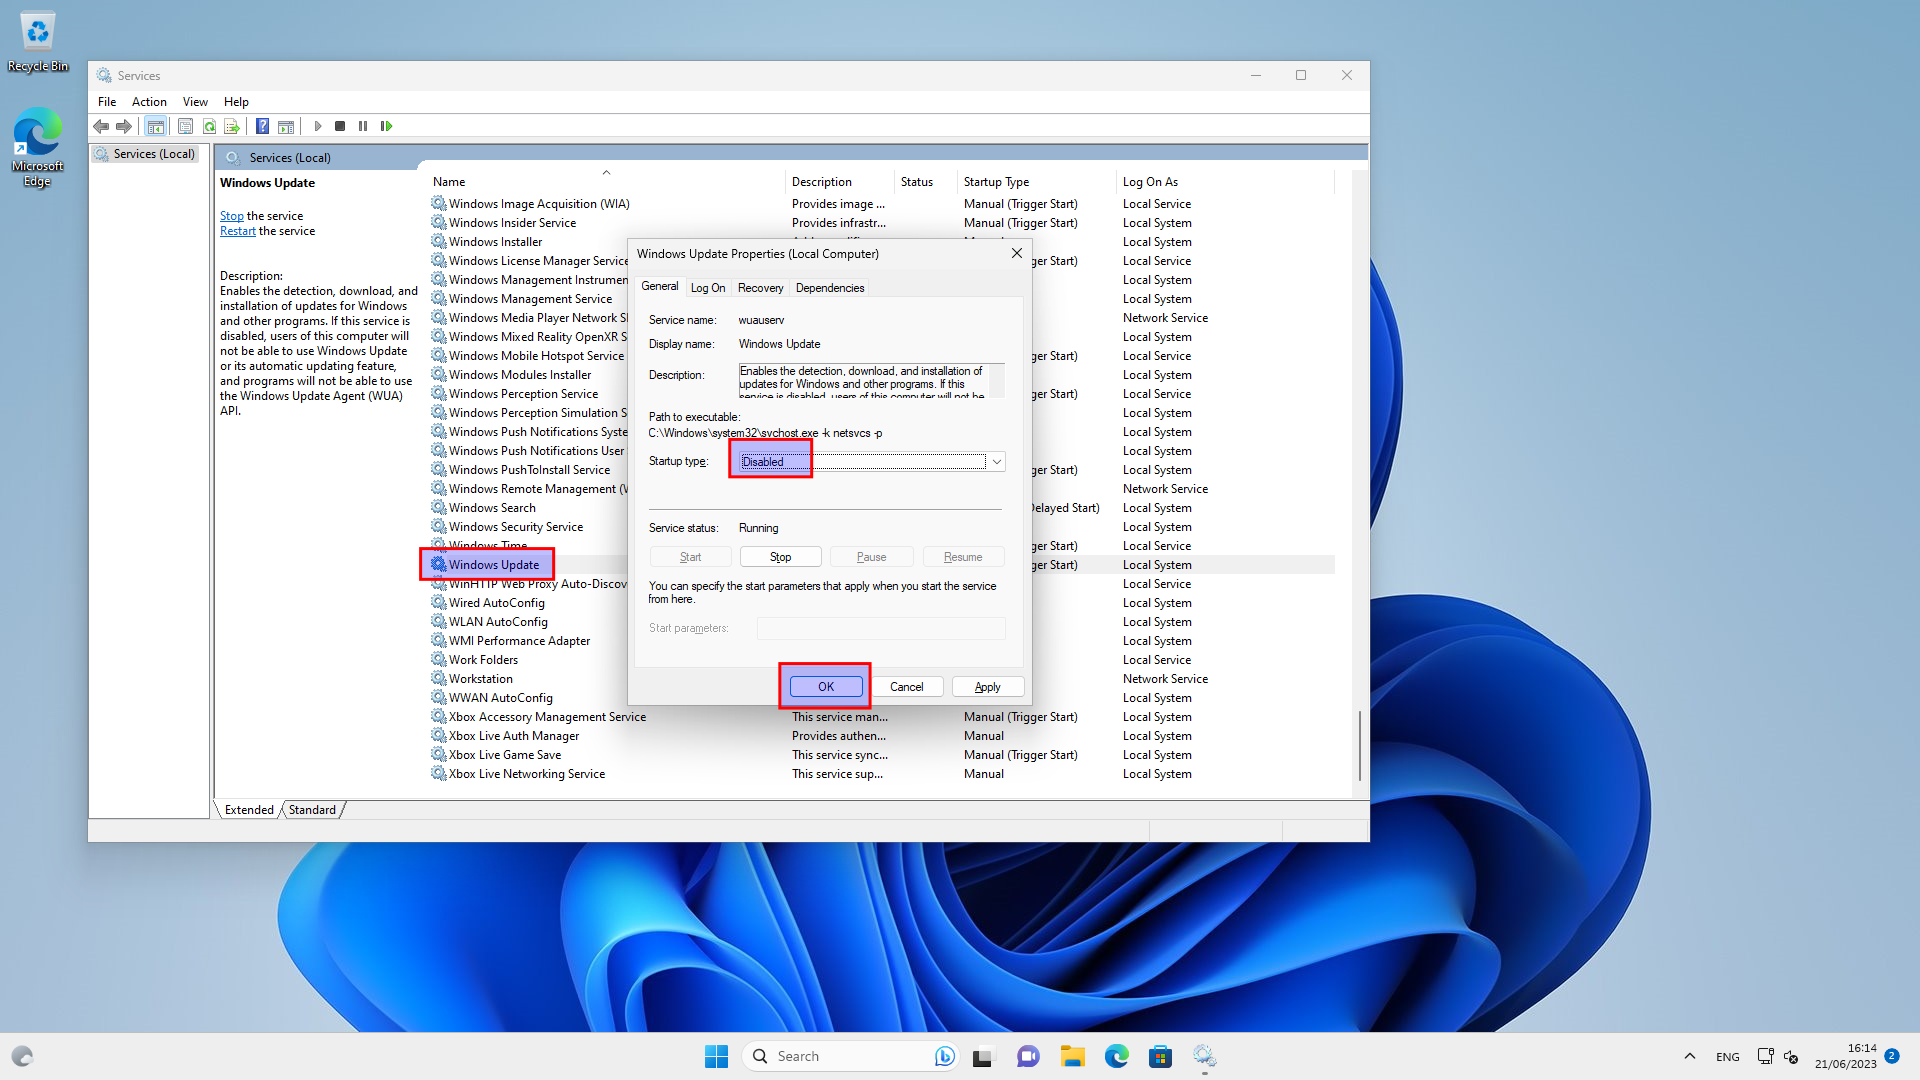
As this is a lab environment, "disable" the automatic updates for now; click "Start", type "services.msc" and select the "Services" app. In the Services window, scroll down and locate the "Windows Update" service. Right-click on "Windows Update" and select "Properties" from the context menu. In the Properties window, under the "General" tab, locate the "Startup type" dropdown menu. Change the startup type to "Disabled". Click on "OK" to save the changes and close the window.
Power
In the "Settings" app, choose "Power".
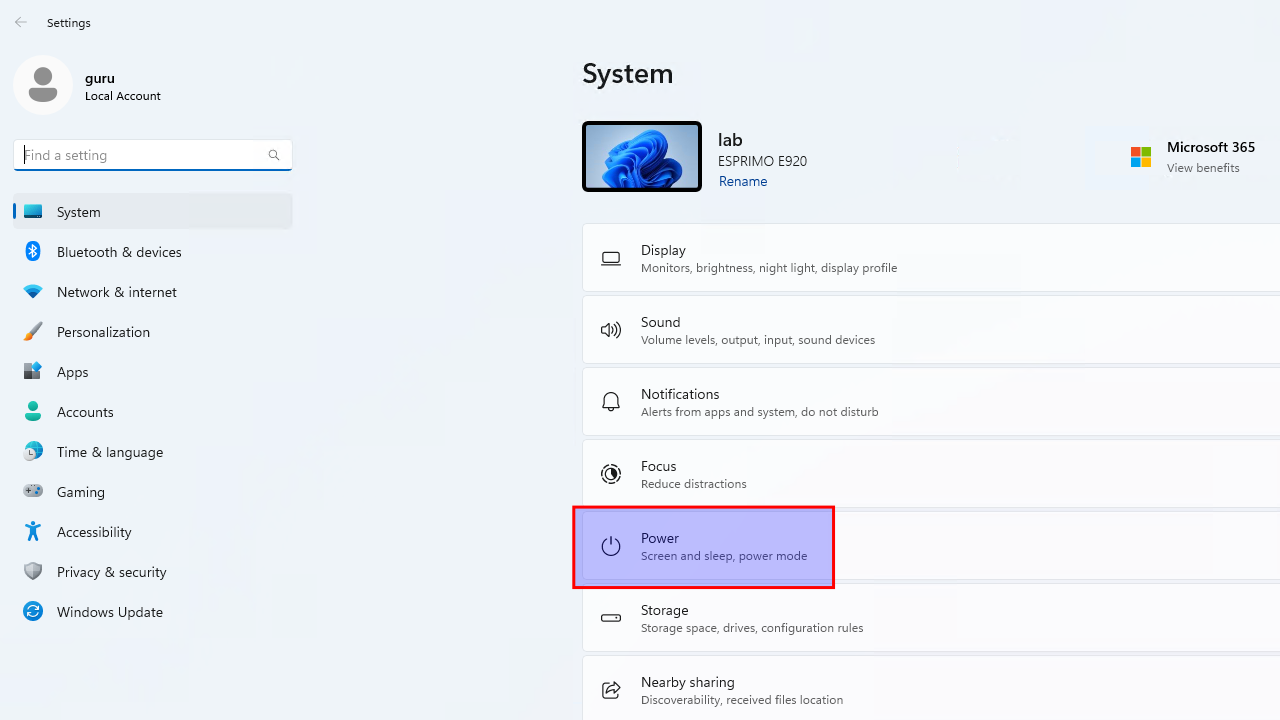
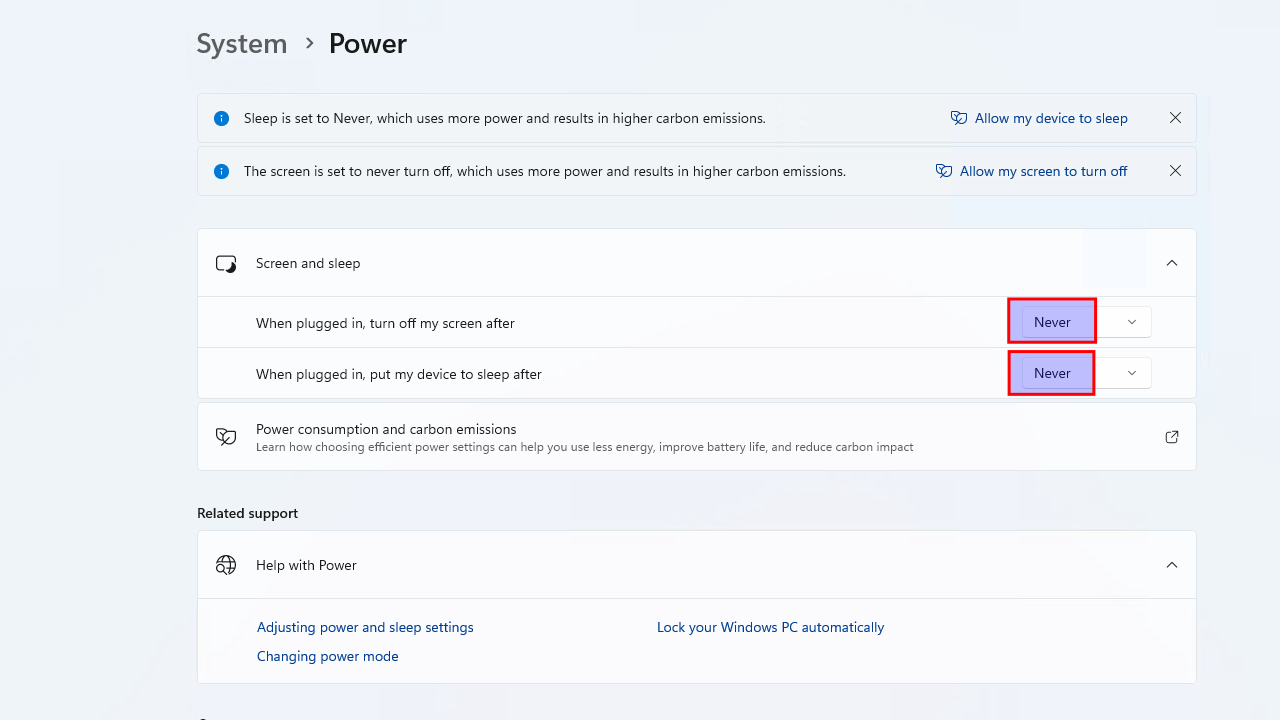
As this is a lab computer, make sure the monitor and device never go to sleep.
Copy ISO files
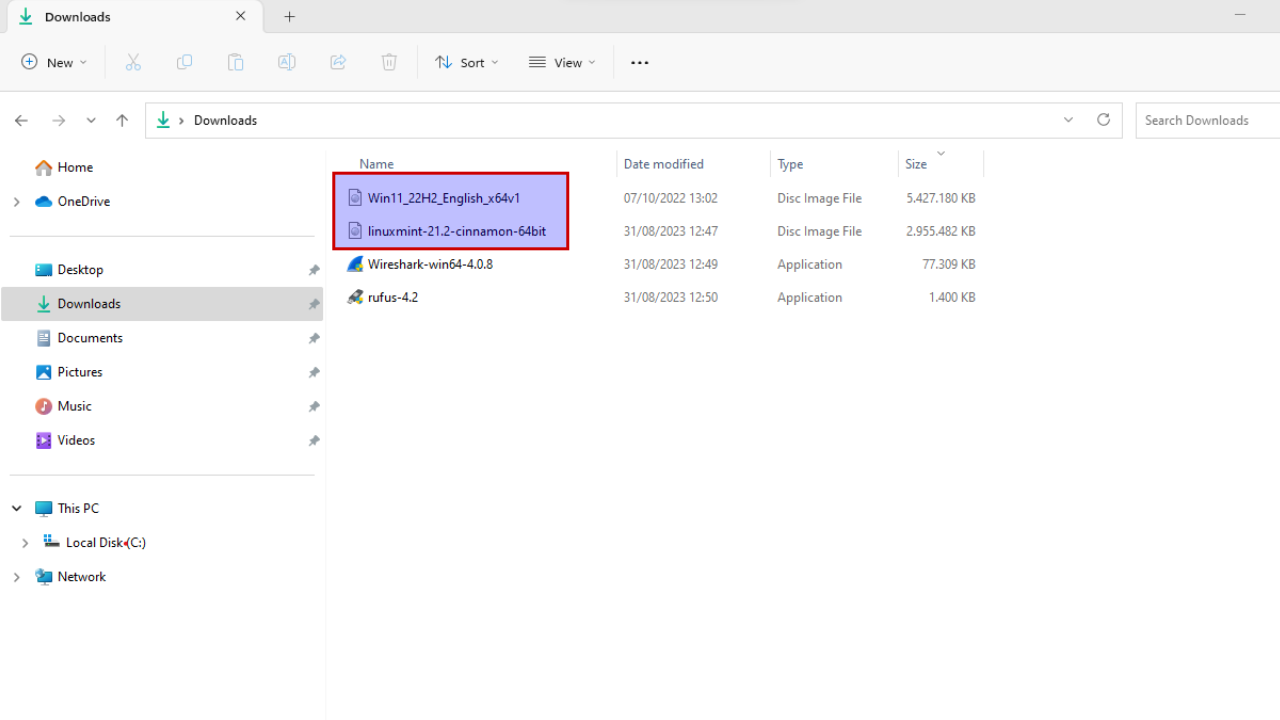
In order to create some installation media with Rufus when we're offline later on, copy over the ISO files you need.
Applications (optional)
- Install Rufus on Windows 11 -> make USB-key to download GRUB and syslinux
- Install Putty on Windows 11
- Install Teraterm on Windows 11
- Install WinSCP on Windows 11
- Install Wireshark on Windows 11 -> download ONLY
- Install Chrome on Windows 11
- Install Firefox on Windows 11
Cleanup + final restart
Configure desktop shortcuts.
Empty the recycle bin.
![]()
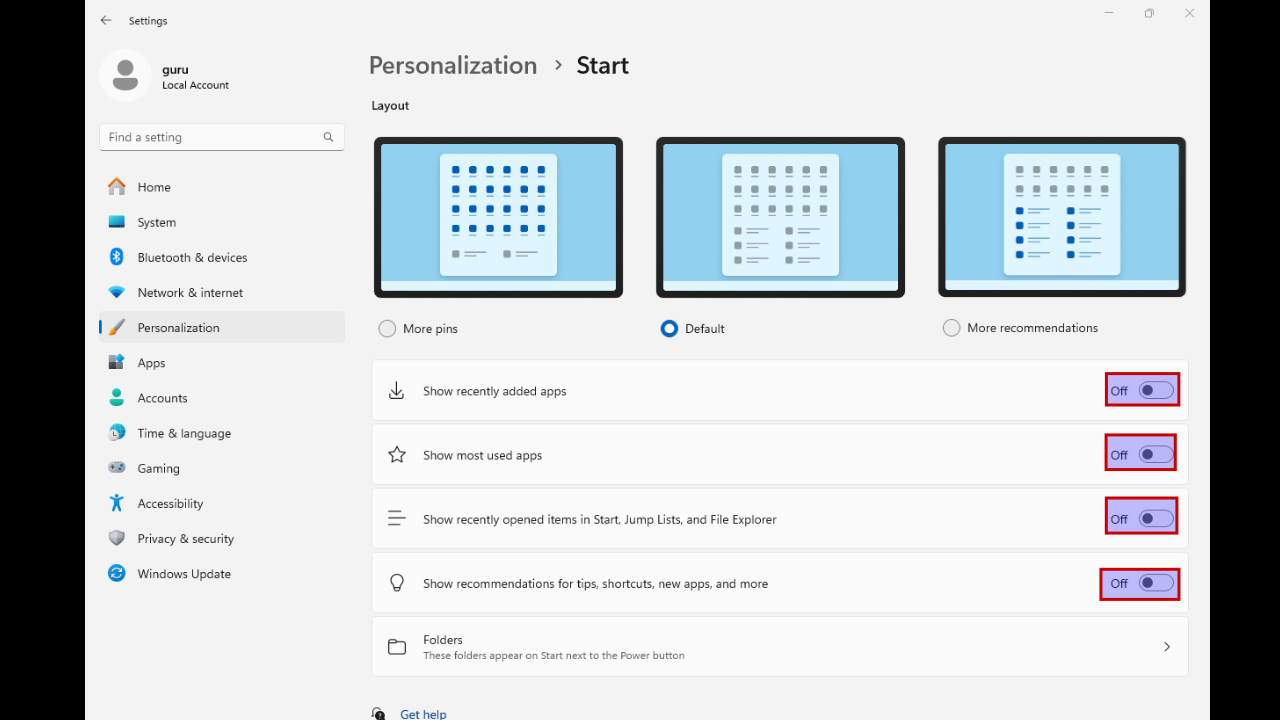
Right-click "Start -> Settings"." Click on "Personalization -> Start". Uncheck all settings.
Reboot the PC for the last time, to make sure all remaining updates are properly installed/configured.
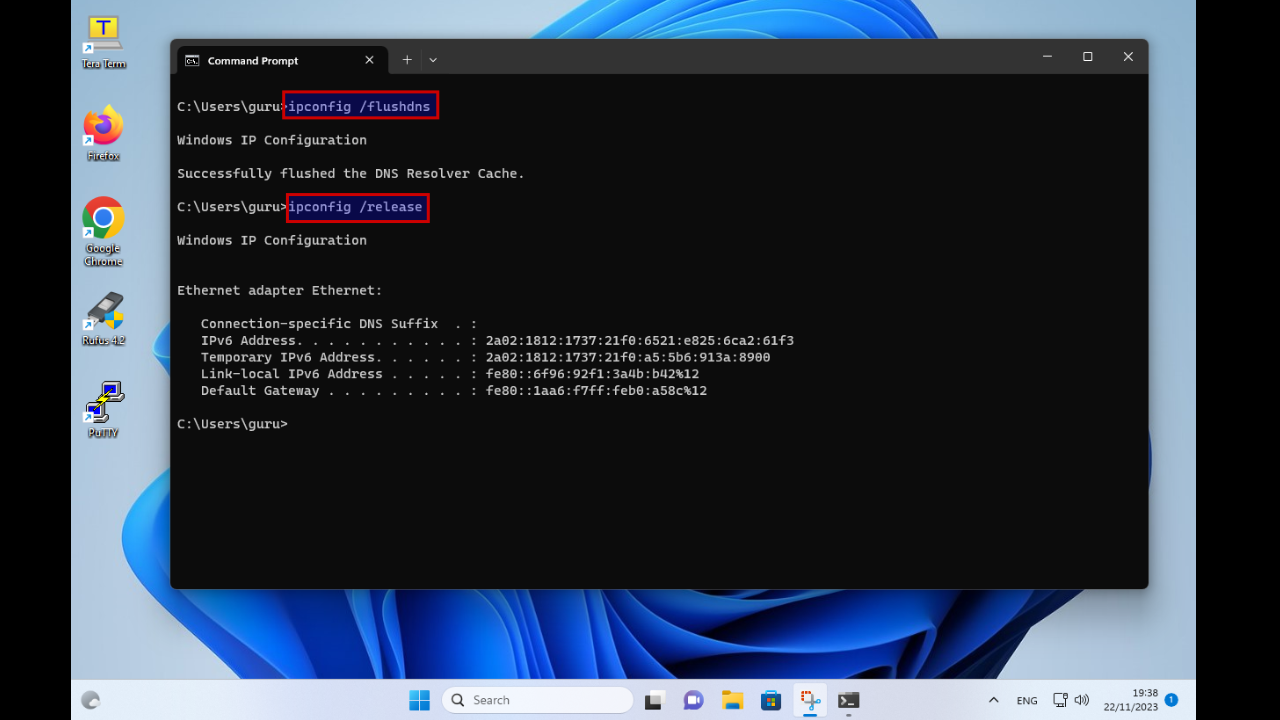
Start a command prompt and execute "ipconfig /flushdns" followed by "ipconfig /release" and unplug the UTP cable.
Shutdown1 and power-up
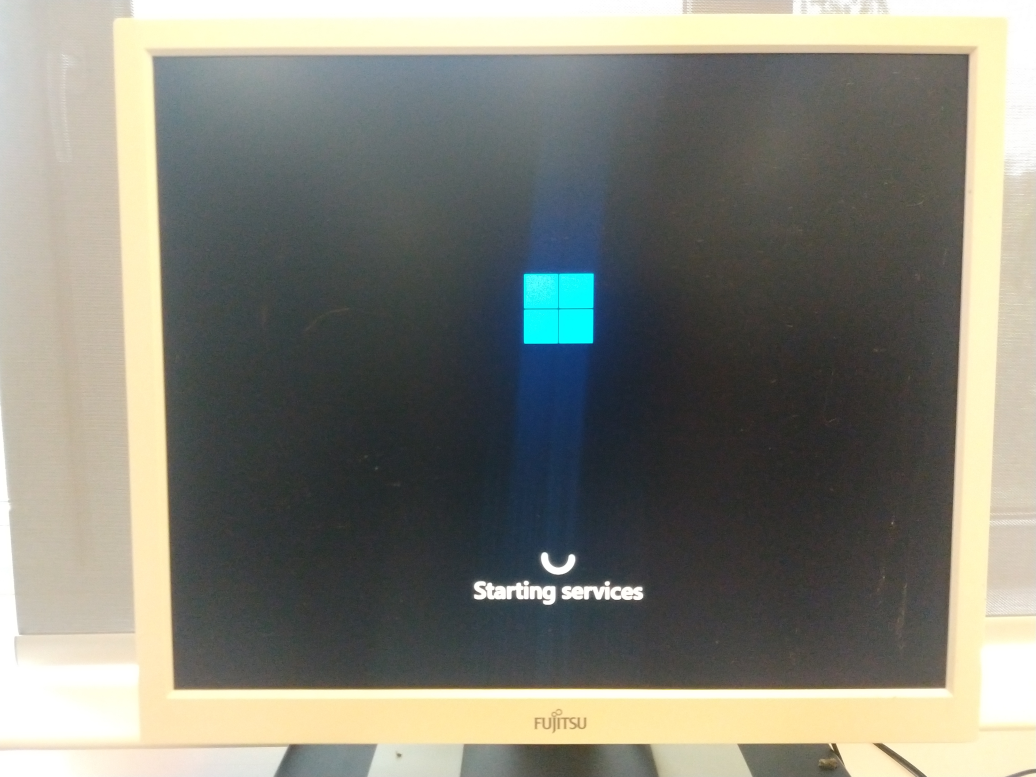
Shutdown the PC. Power on the PC. It is possible that some last "updates" are getting configured.
Shutdown2 and reconnect the network.
Finally, login and shutdown Windows 11 for the last time. Reconnect the UTP network cable now (but do not boot into Windows anymore).