Install Windows 11
Boot from USB
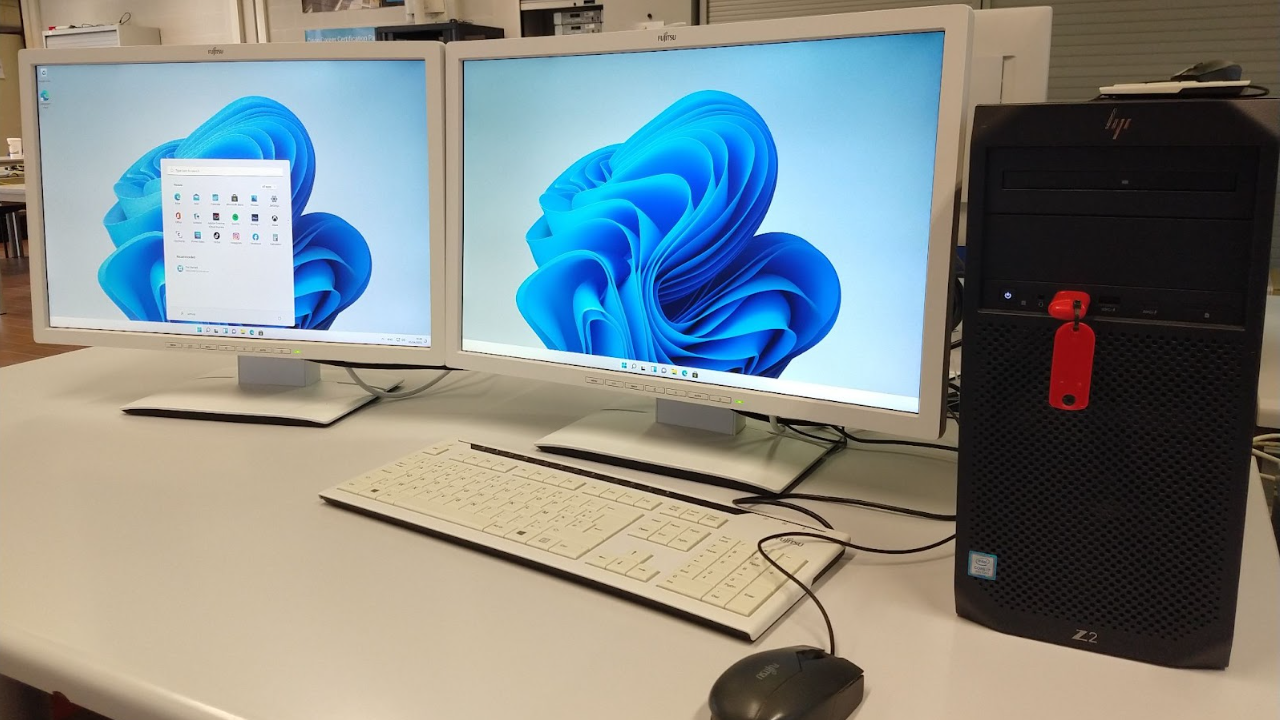
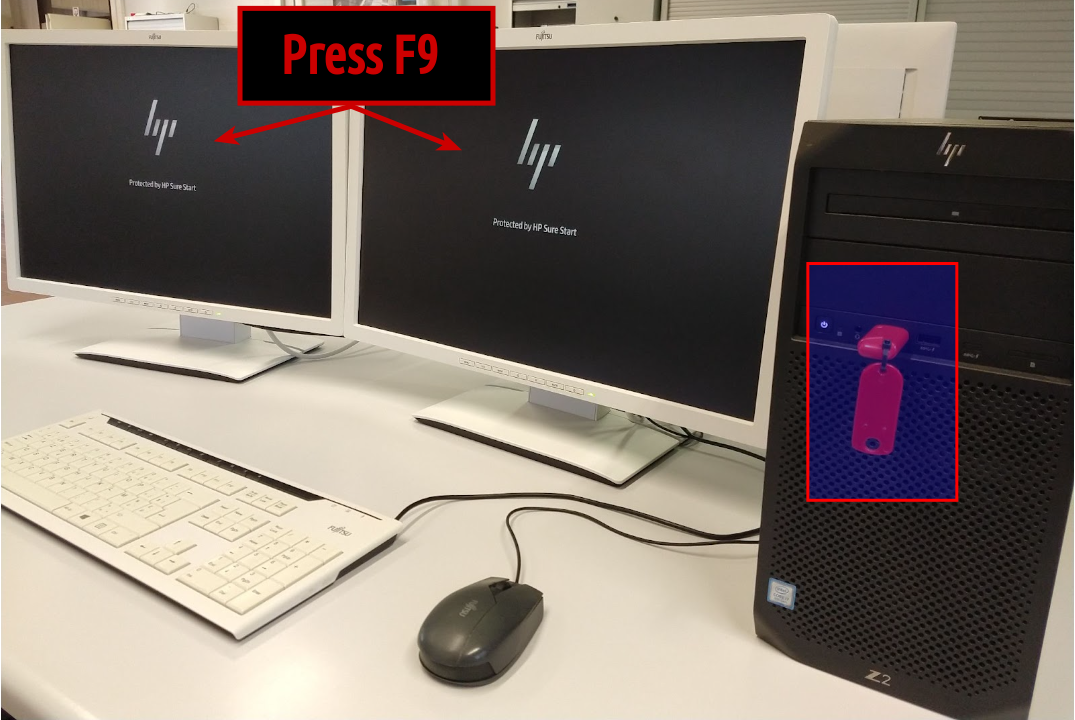
Insert the Windows 11 USB flash drive. Make sure both monitors are "on". Start the PC. In this case (HP Z2 PC), press F9 once at the "HP splash screen" and wait. Specifics vary from computer to computer. Consult your hardware manual.
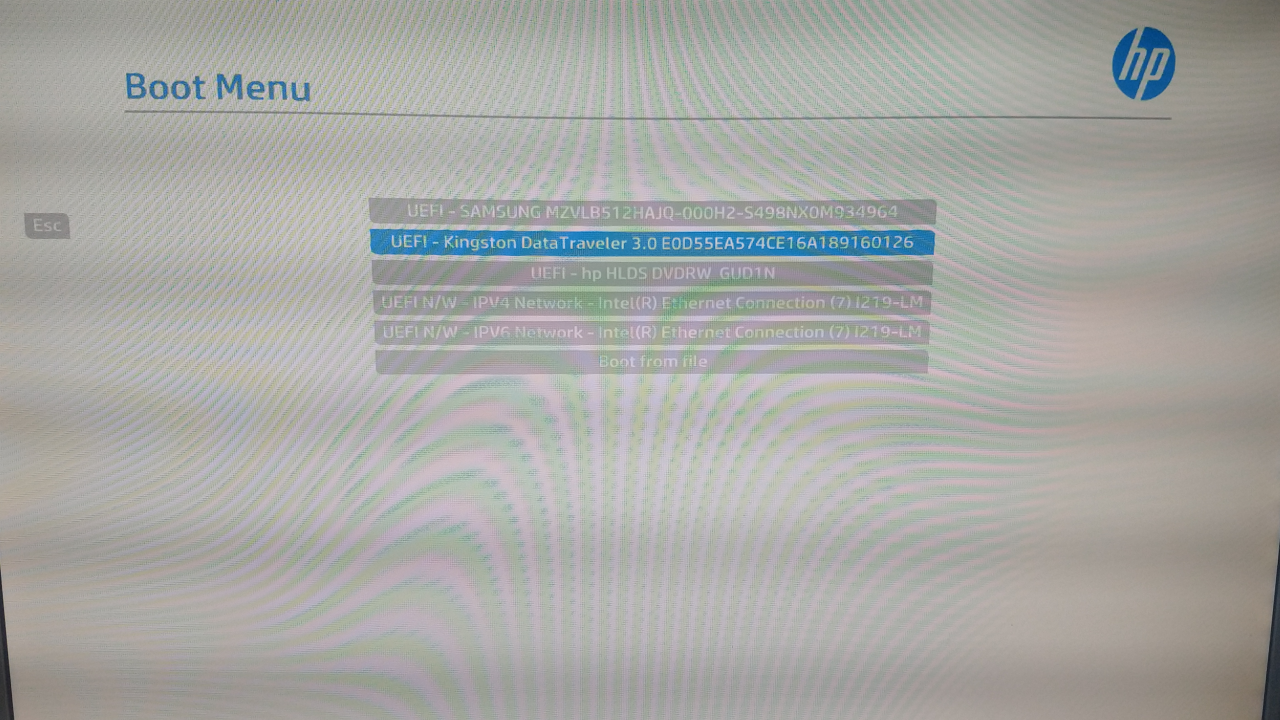
You get the "boot menu". Select the USB flash drive to boot from.
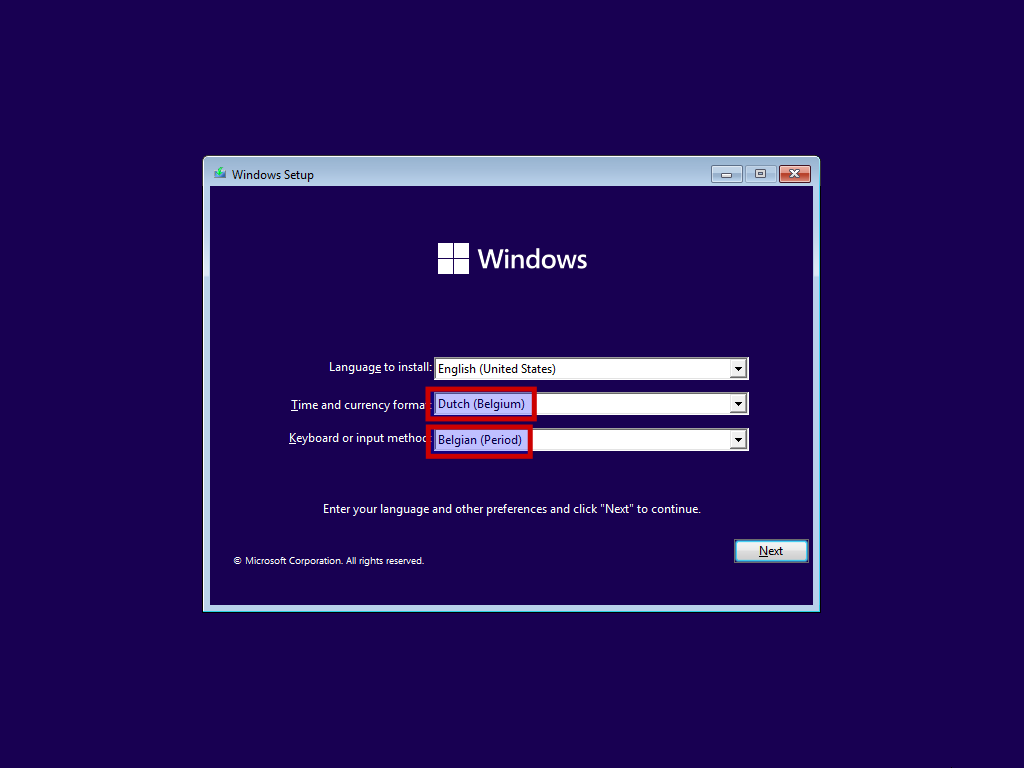
Time and currency format
Dutch (Belgium). Keyboard or input method: “Belgian (Period).
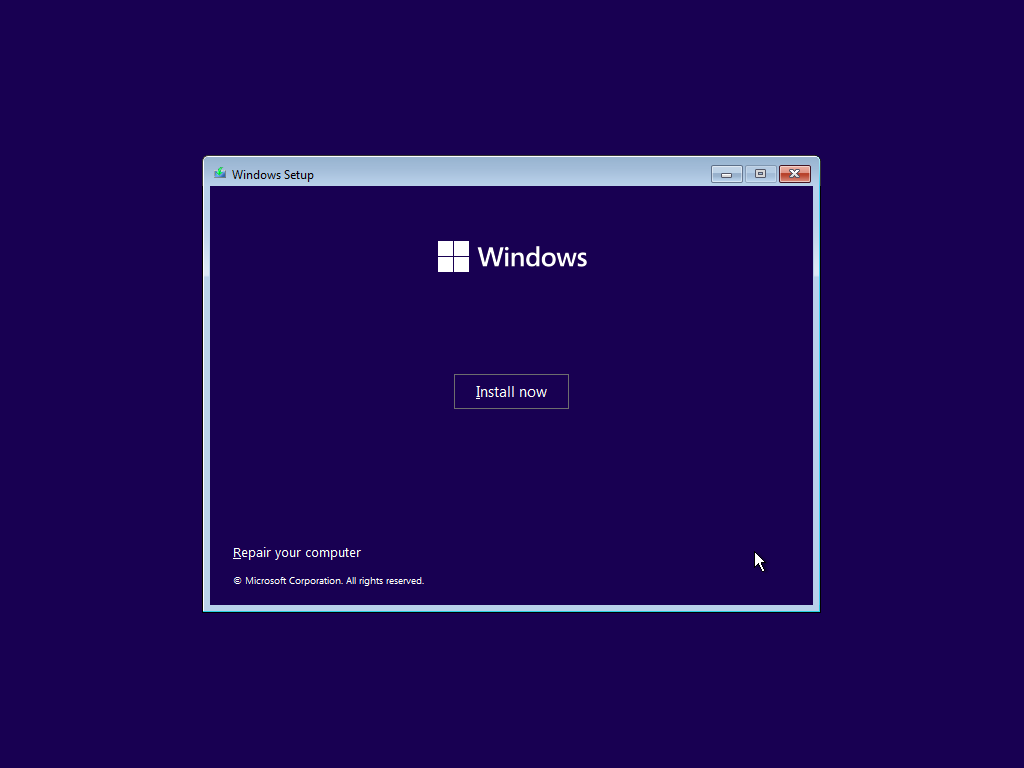
Install now
Notice, you also have a "repair" option here... Choose "Install now".
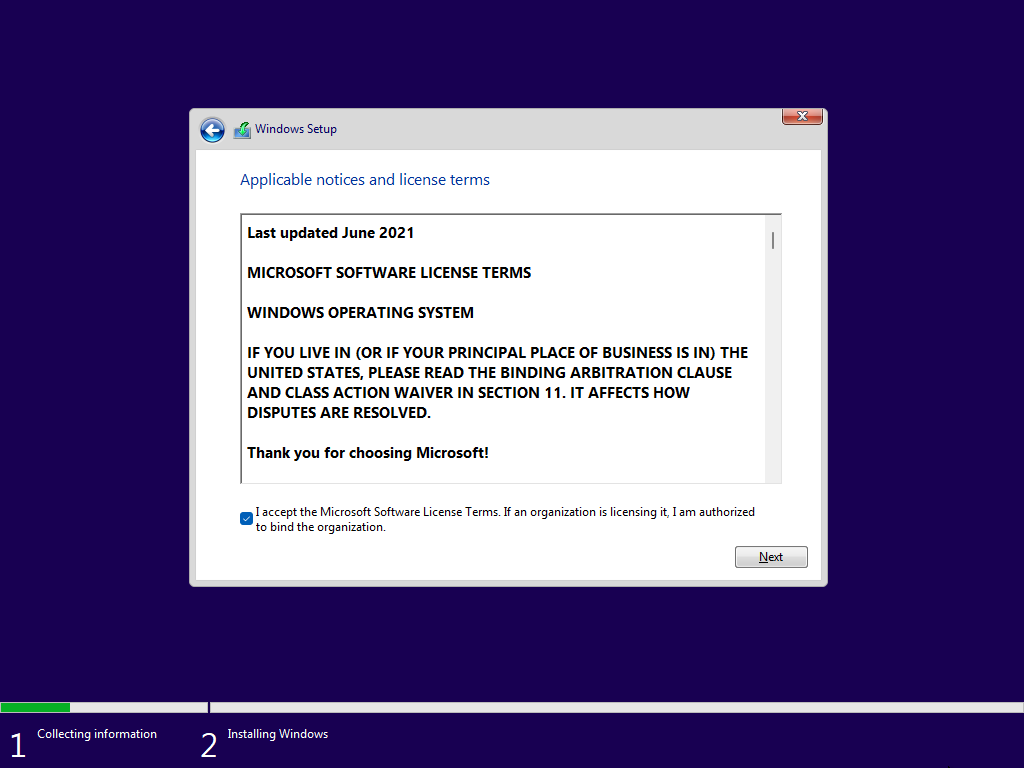
License agreement
Accept.
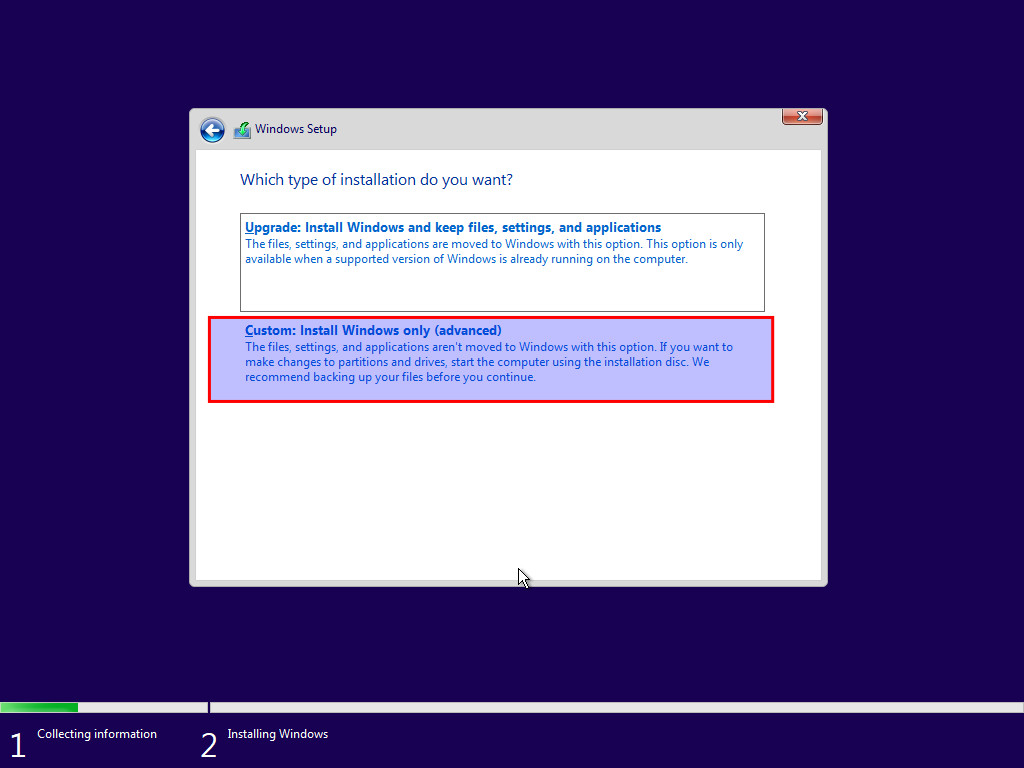
Type of installation
Select “Custom: Install Windows only (advanced)".
Installation location & partitioning
If you were able to do a secure erase in BIOS/UEFI, there are no partitions. If not, delete all partitions manually.
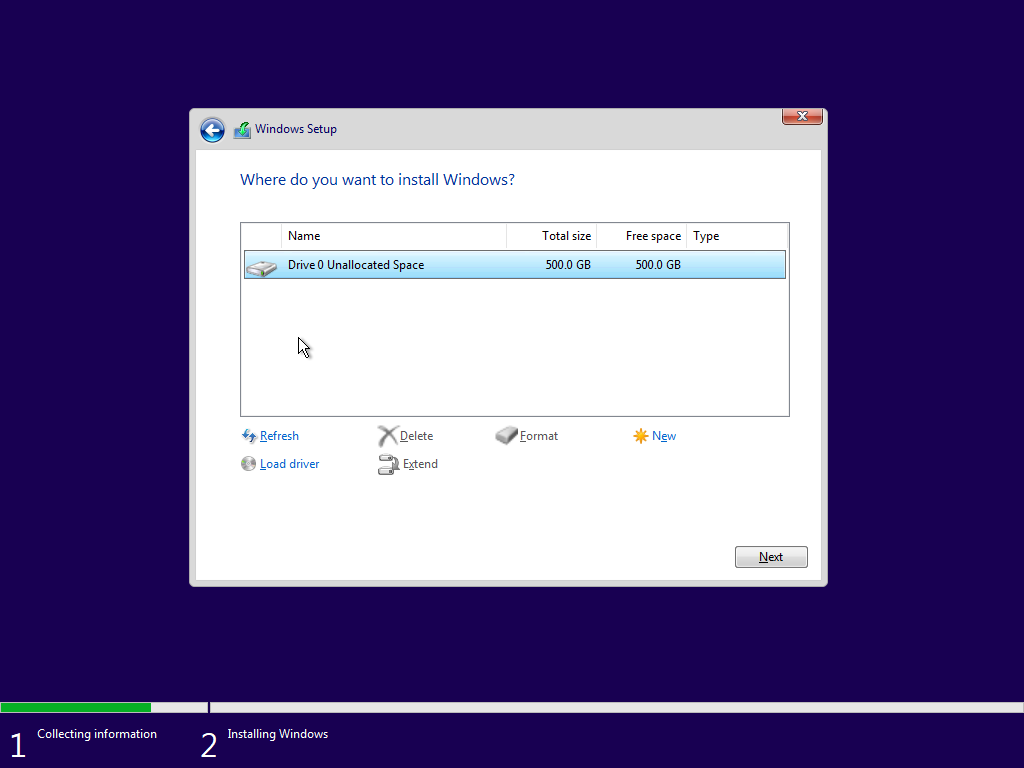
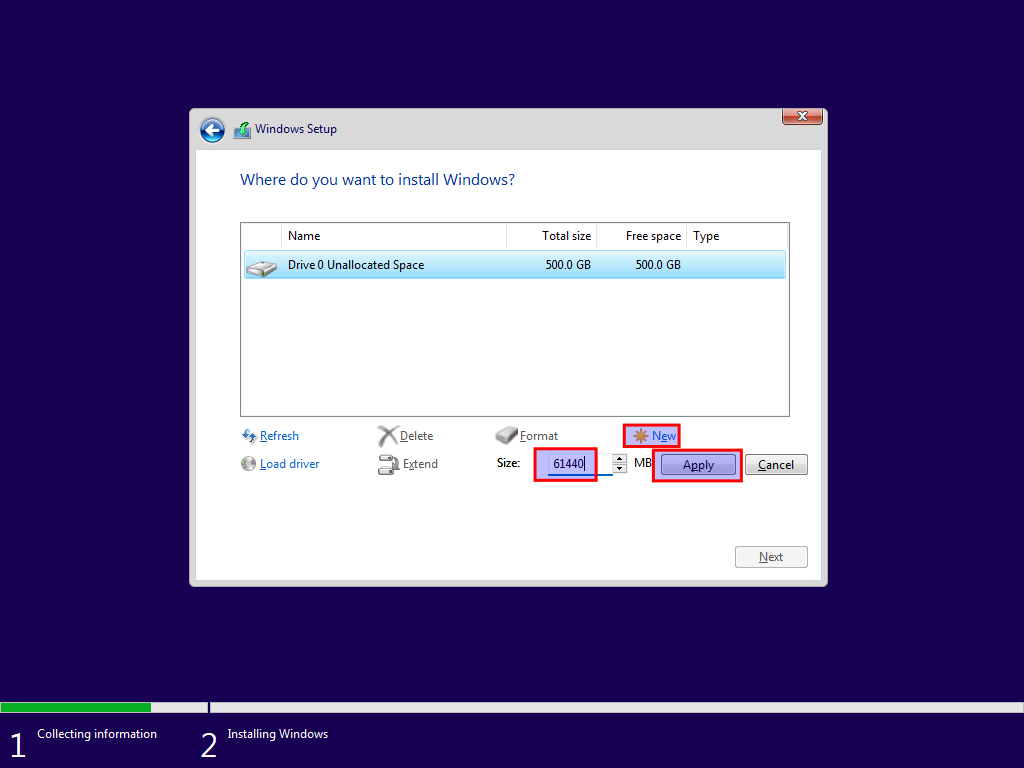
Make sure "Num Lock" is activated on your keyboard. Check the LED if possible. Select "New" and create a partition of 60 GB (61440 MB) and click "apply".
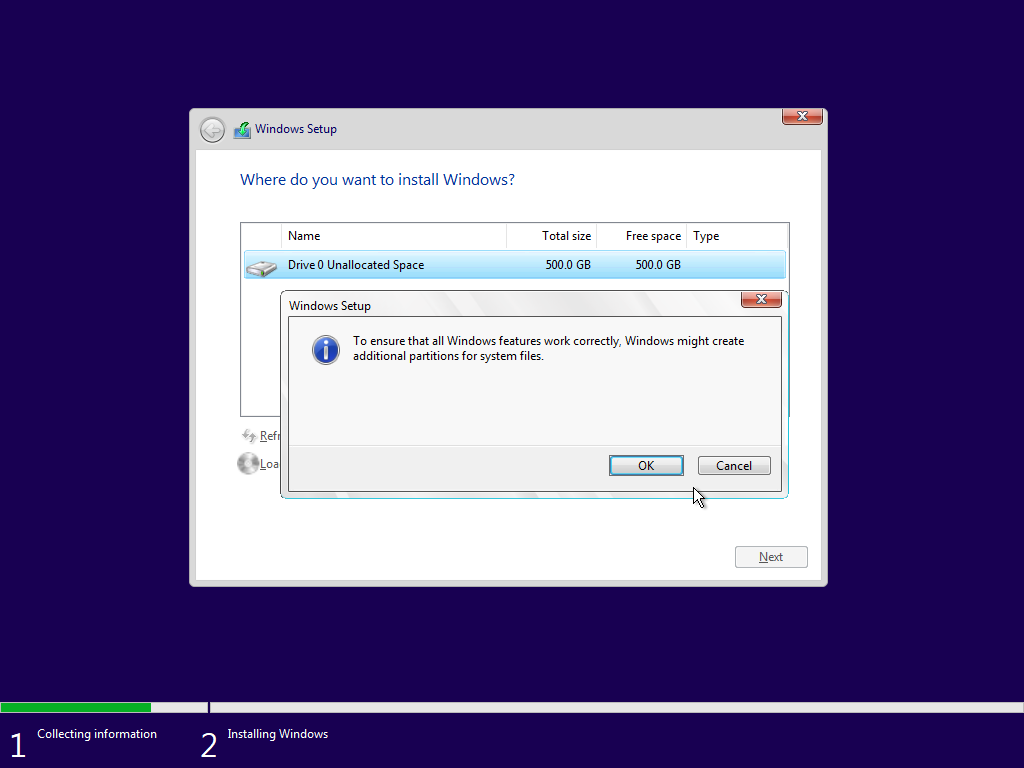
Read and comprehend the message.
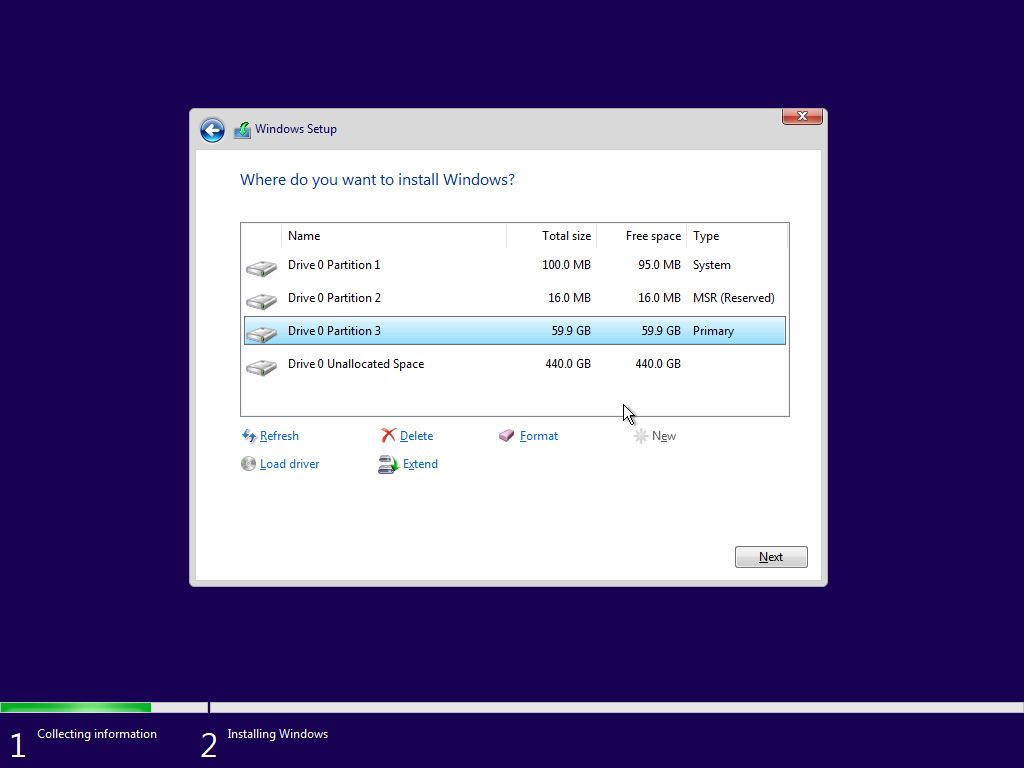
Windows creates additional partitions. Notice, there is some "Unallocated space" left. This is for the Linux installation later on. Select "Drive 0 Partition 3" for the Windows installation.
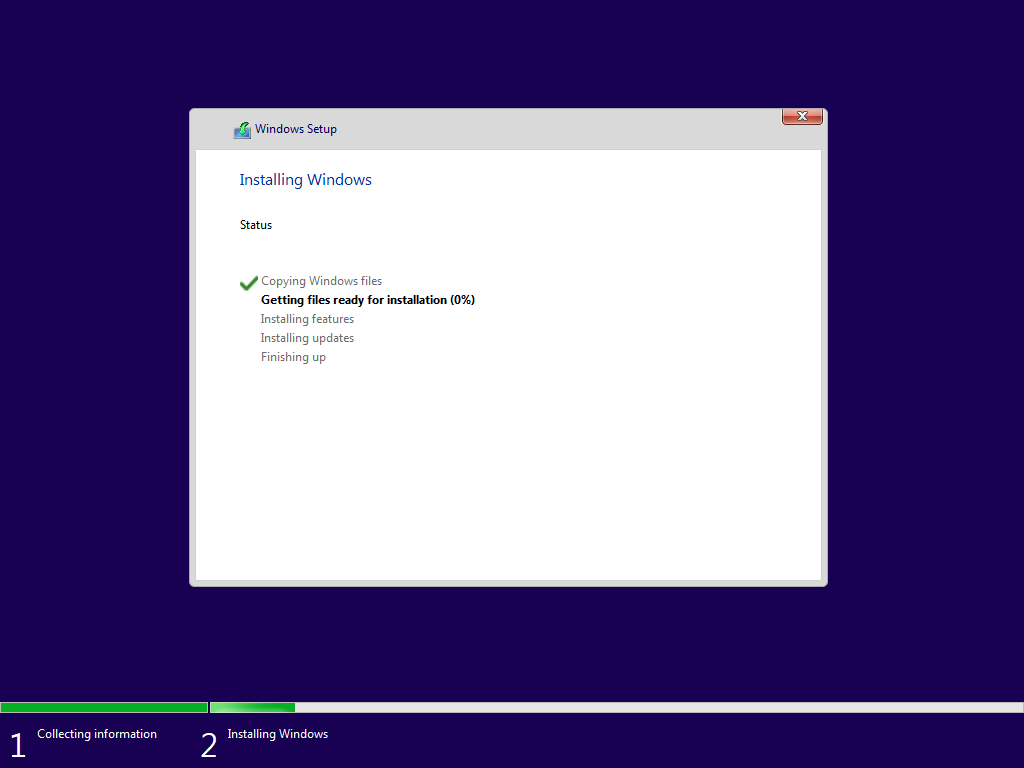
Installing
Grab a coffee.
The PC reboots for the first time. UEFI/BIOS won't boot of the USB flash drive, as it finds a Windows installation on the (hard)drive.
Keyboard and network
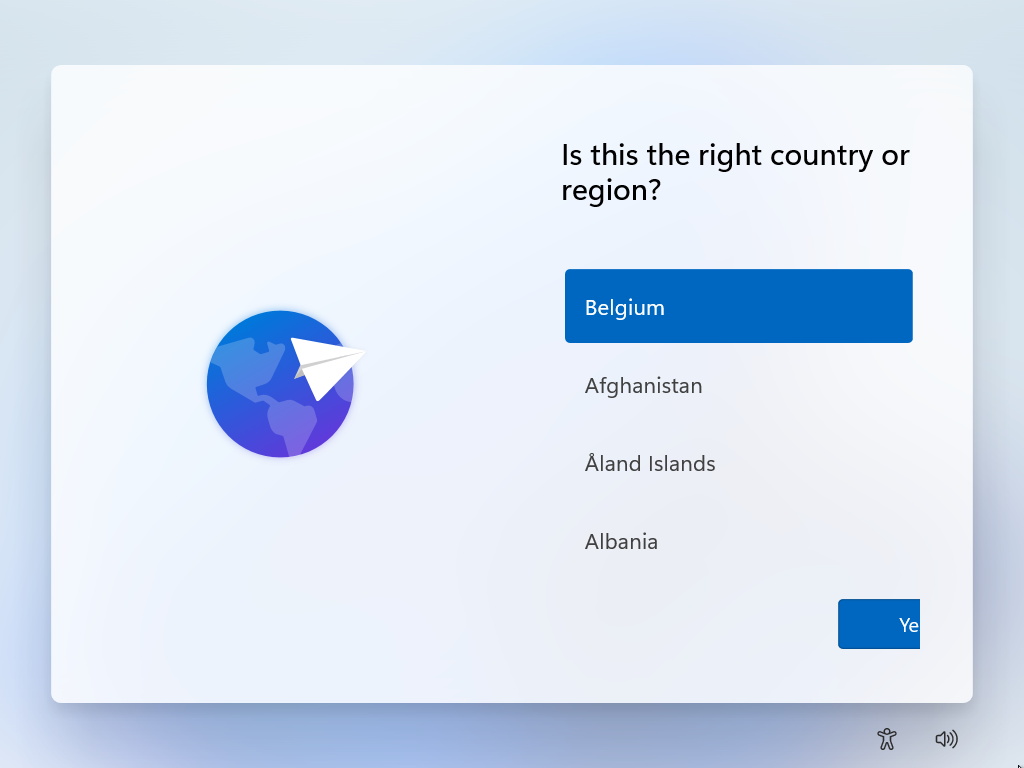
Personal preference here. I select "Belgium".
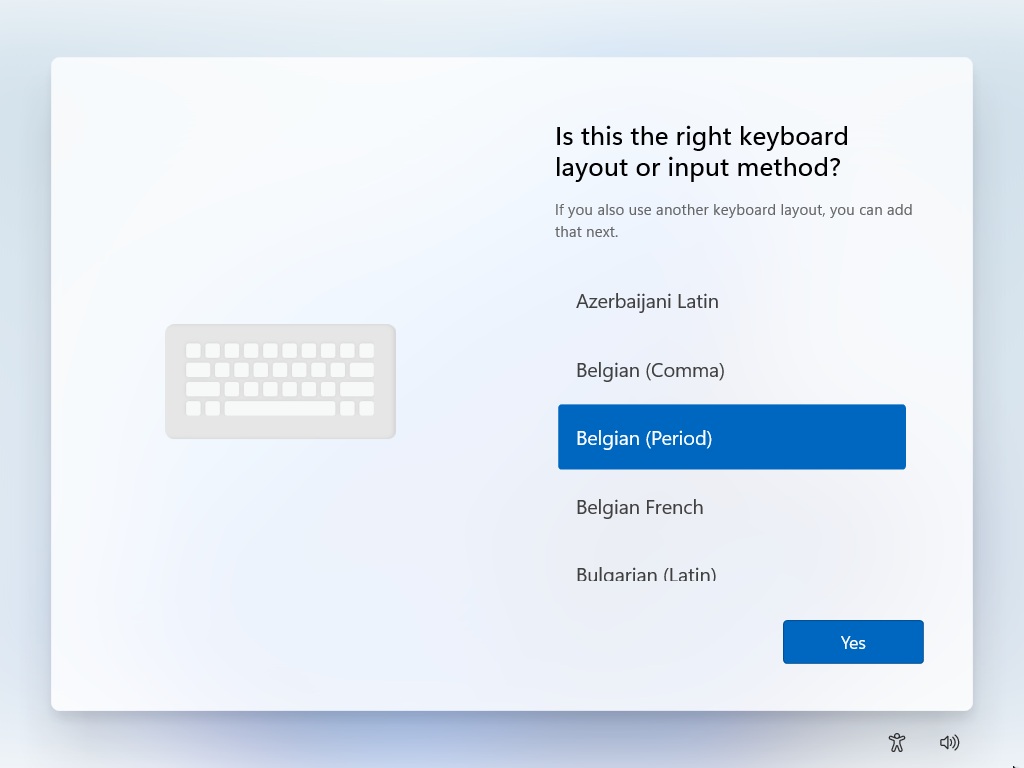
Personal preference here. I select "Belgian (Period)".
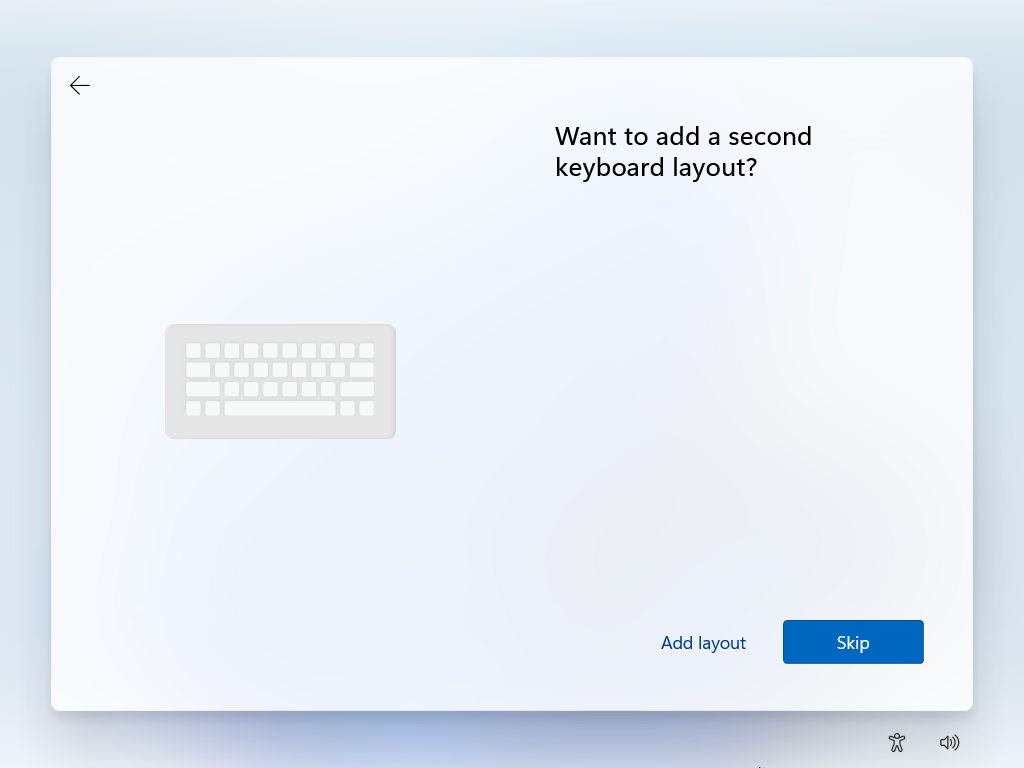
Select "Skip"
Windows reboots for the 2nd time.

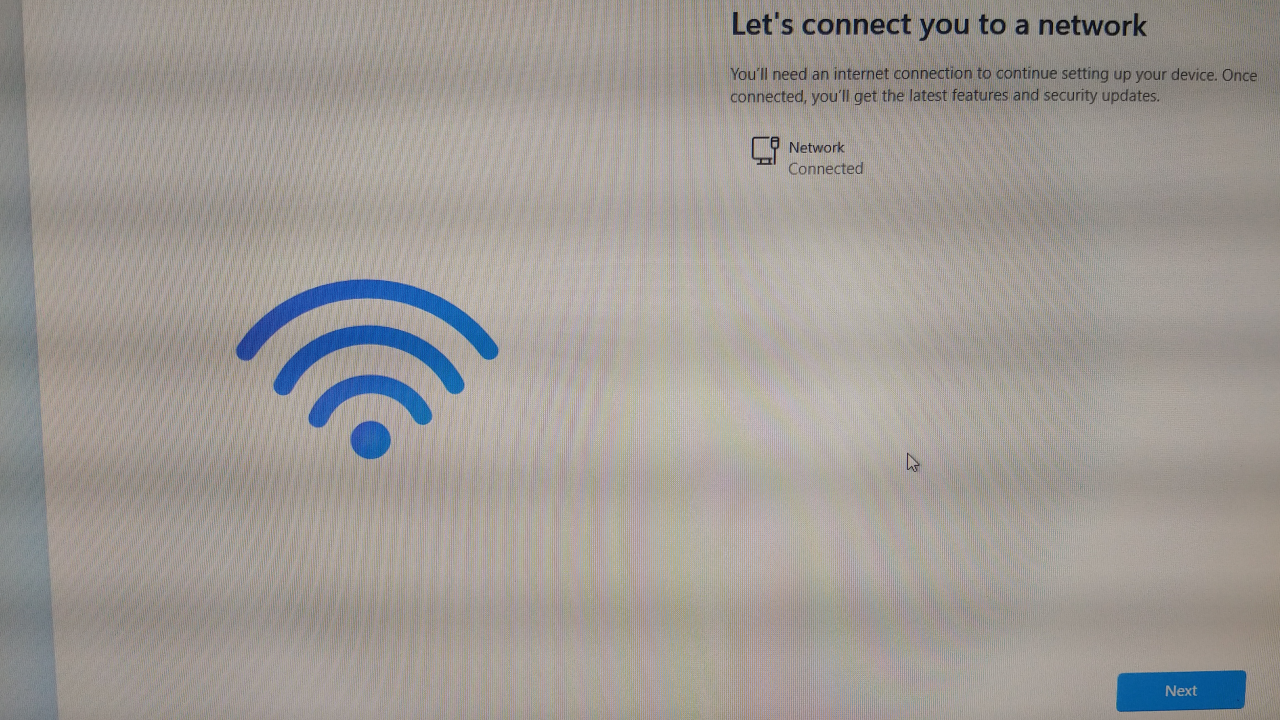
The presence or absence of the "Let's connect you to a network" screen during the installation of Windows 11 23H2 can depend on various factors. If you get this screen, choose "Next".
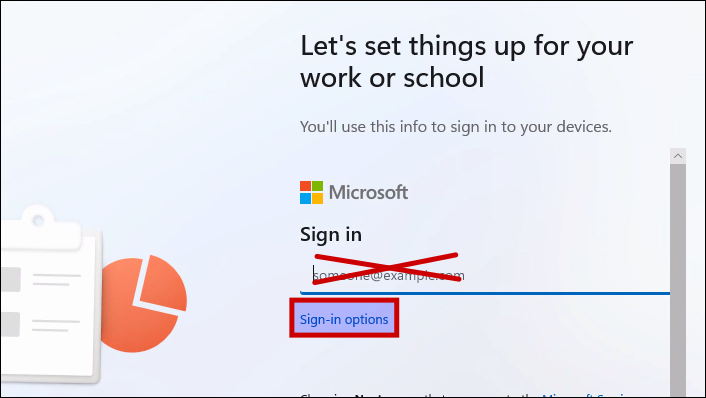
Account
Select "sign-in options".
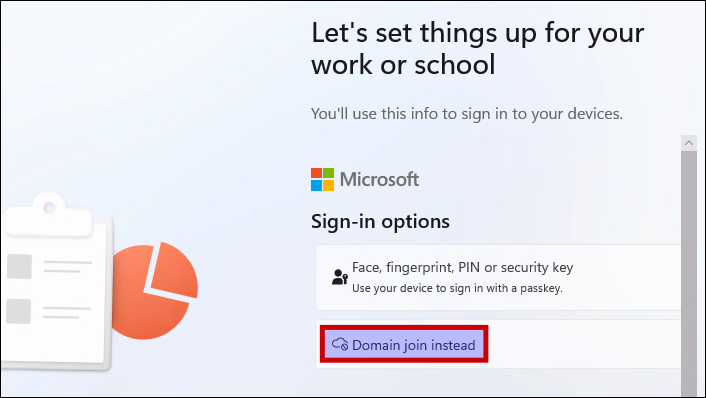
Select "Domain join instead".
Login: guru
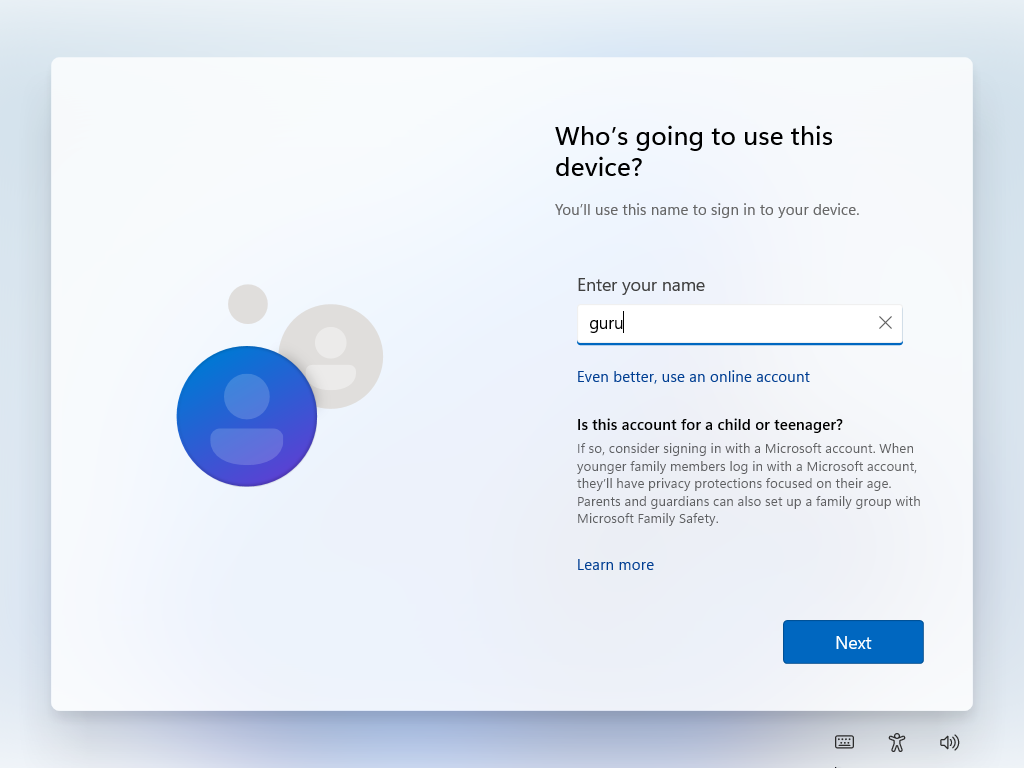
Password: guru
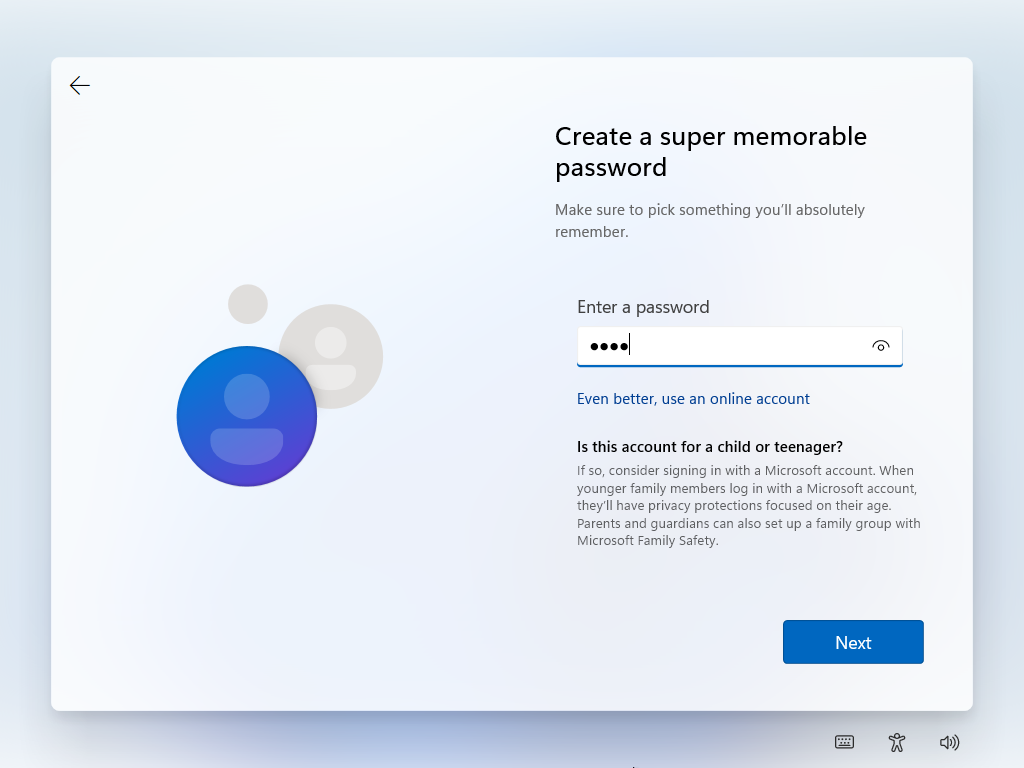
Acknowlege the password: guru

Security question1: Doggy

Security question2: Wevelgem
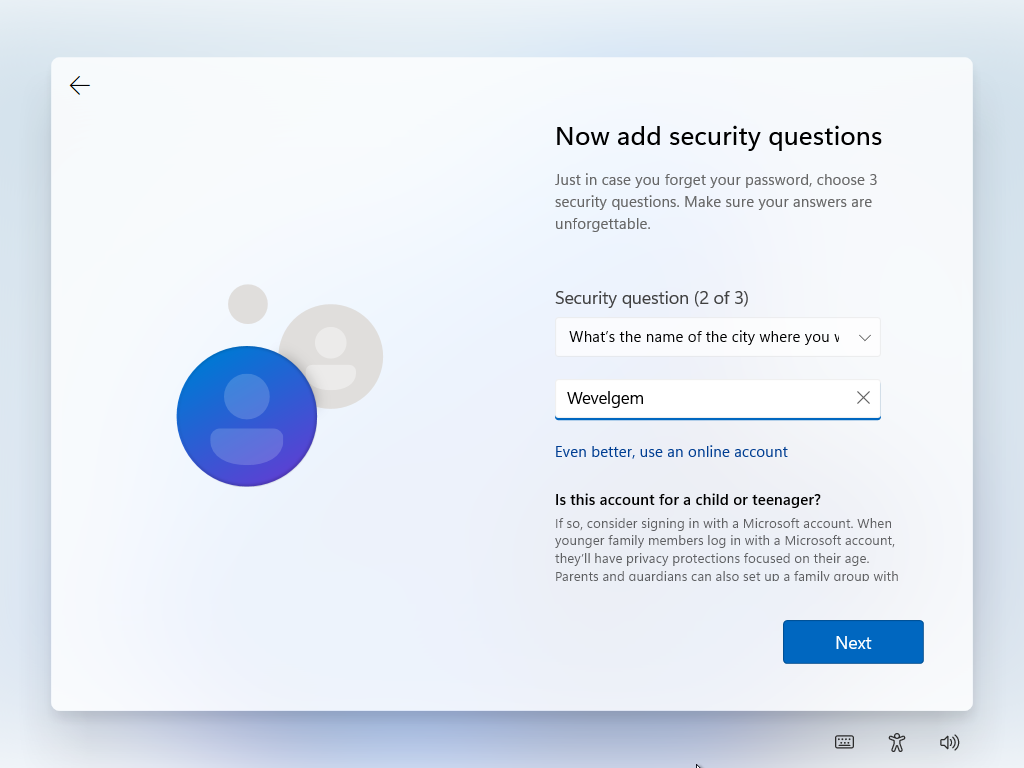
Security question3: IT guru

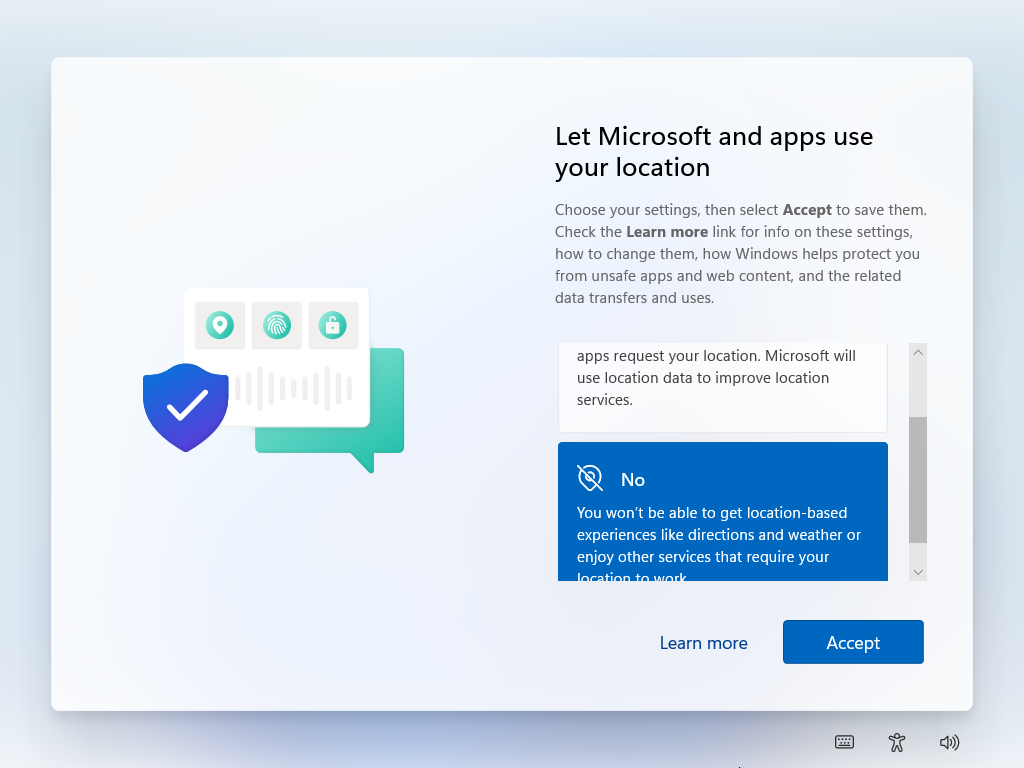
Finishing
Location-based experiences: no.
Find my device: no.

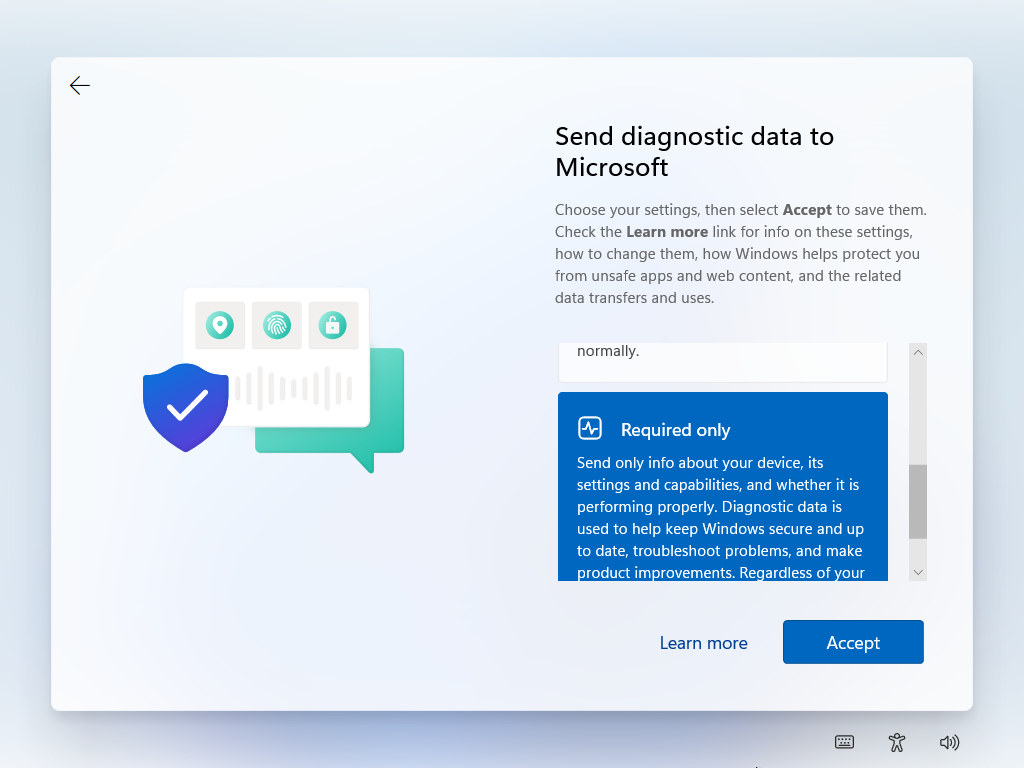
Send diagnostic data: Required only.
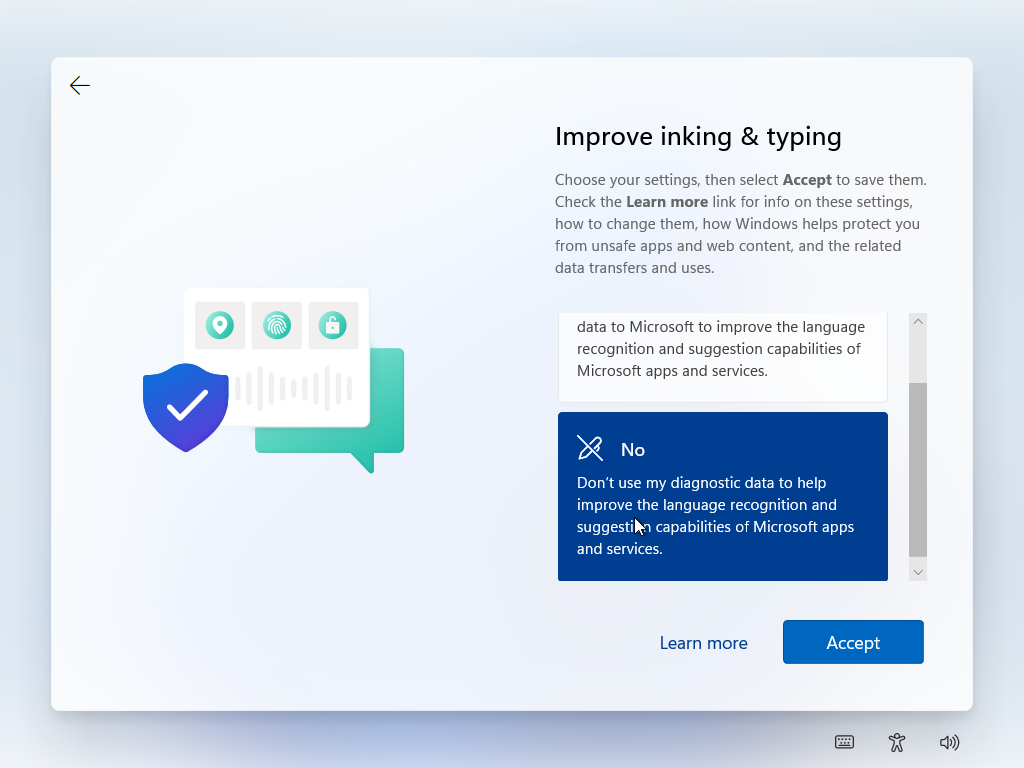
Improving inking & typing: no.
Get tailored experiences: no.

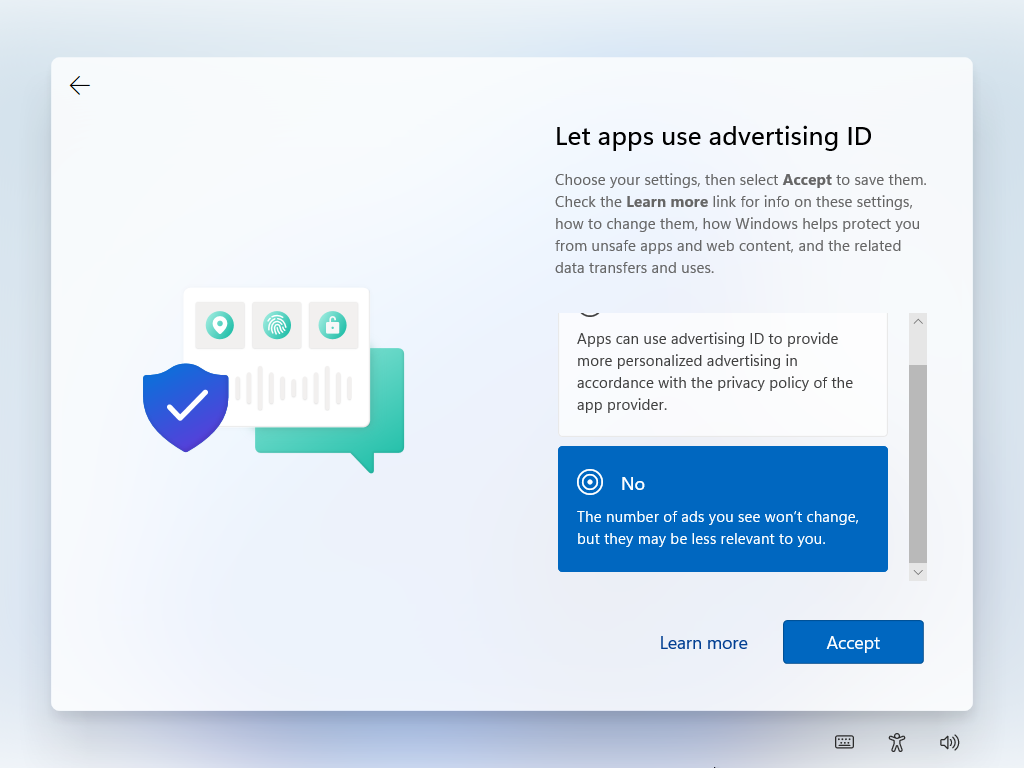
Advertising id: no.
Updates.
Almost ready.
Installation done! Do a "safe remove" of the Windows USB flash drive and then physically remove the flash drive.