Skip to content

Configure OS

Guest additions

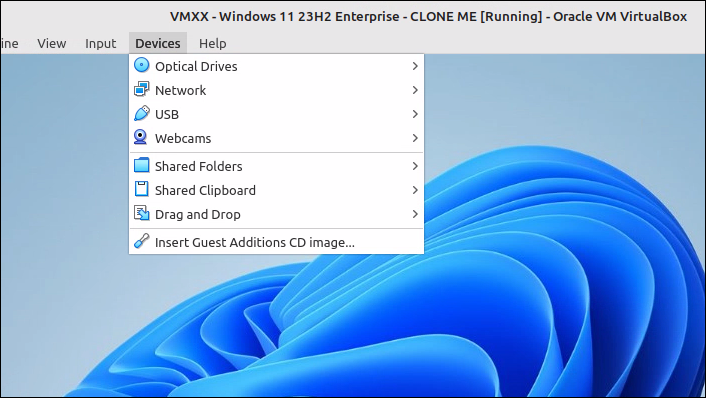
Select "Devices -> Insert Guest Additions CD Image". In the background, a "virtual cd" gets mounted.

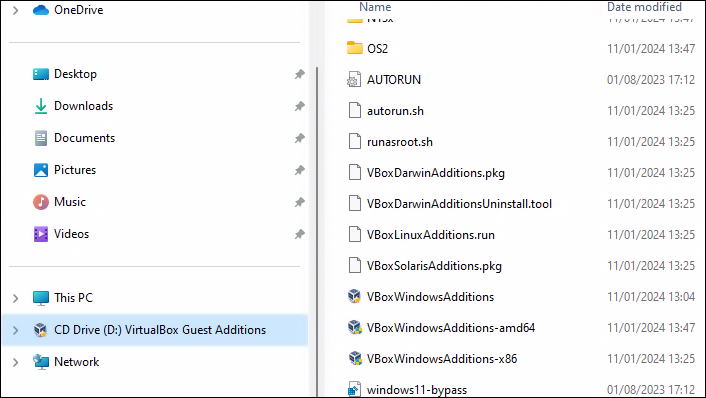
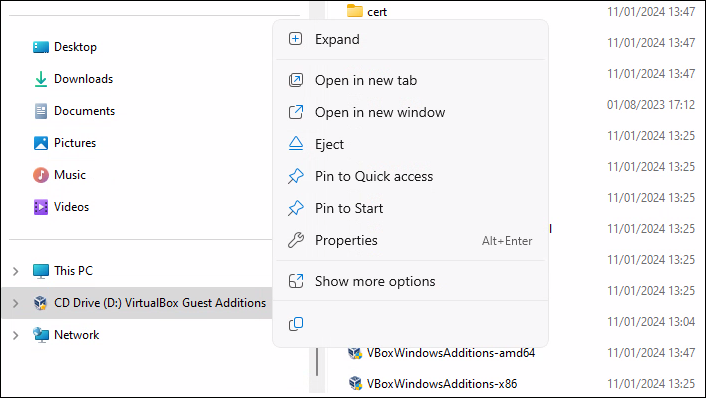
Start the "Windows Explorer". You can see the "virtual cd" via the D:\ drive. Double-click on "VboxWindowsAdditions-amd64".

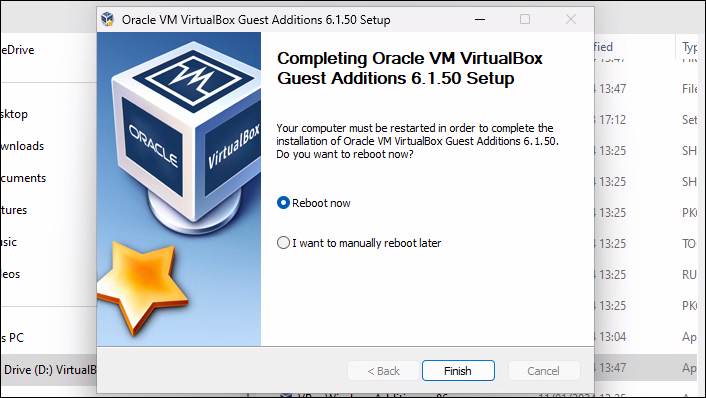
Read and comprehend all messages. Follow the installation steps and restart.

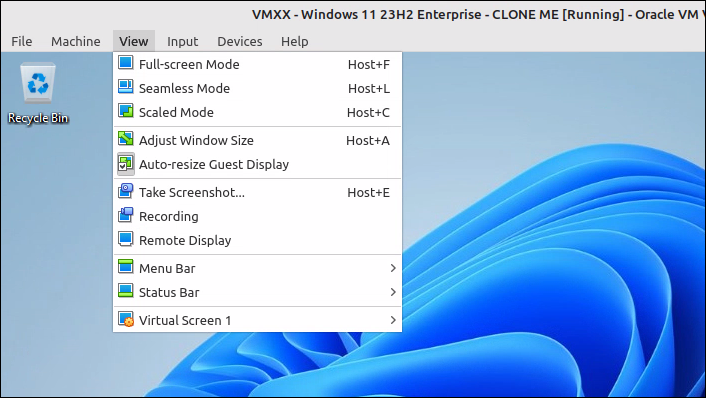
Login ("guru"/"guru") and select "View -> Full-screen Mode".

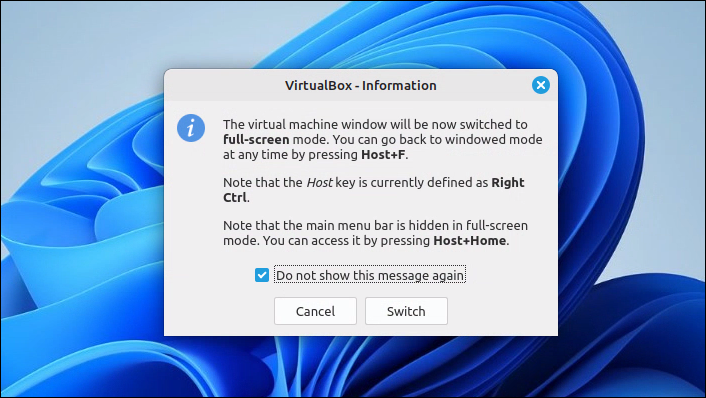
Read and comprehend the popup message.

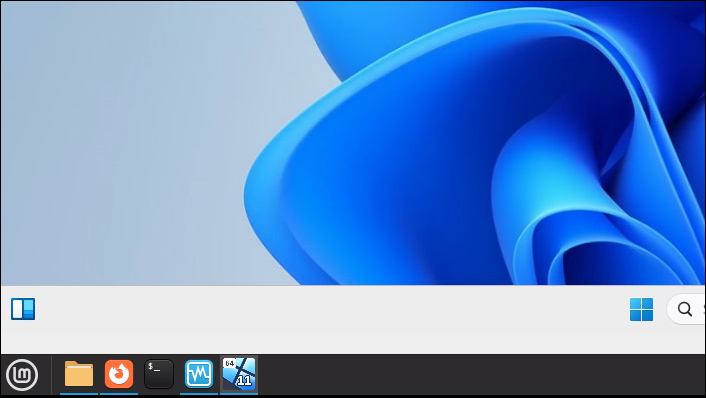
Hooray, full screen! Start "Windows Explorer". Right-click on D:\ -> Eject (= "remove the virtual cd", Windows Explorer closes)

The shared folder "/home/guru/Downloads" is visible in "Windows Explorer" via drive-letter Z:

IP address

Right-click on the network icon on the bottom-right taskbar -> Network and Internet settings.

Select “Ethernet”.

Select “Edit”.

Change "DHCP" to "Manual", activate "IPv4" and configure the IP, subnetmask, gateway and DNS server. Click "Save".

Click "Start" and typ "cmd" to open a command prompt: verify the internet connection.

The network icon on the bottom-right taskbar will soon change to this:

Computername

Go to "Settings -> About" and change the computer name to "vm6". Restart later.

Automatic updates

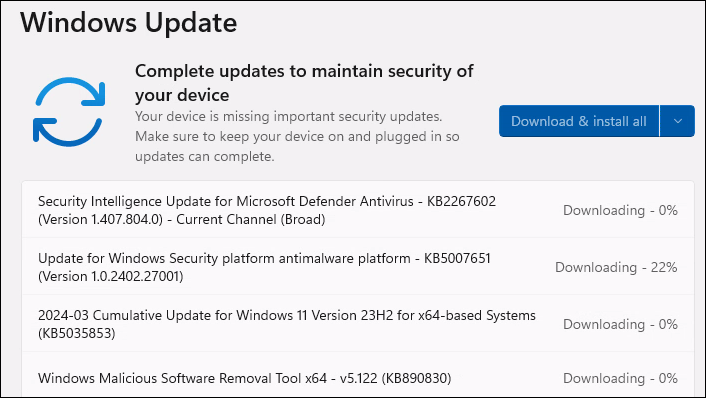
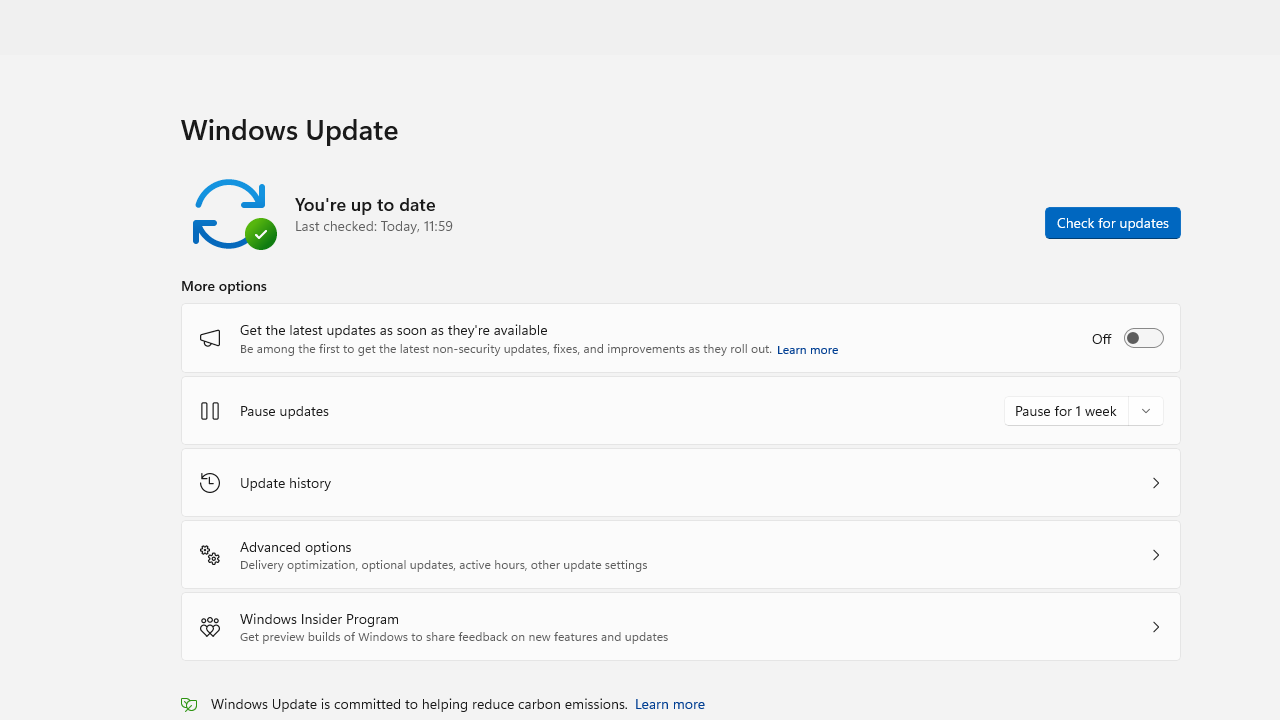
Go to "System -> Windows update" and install all available updates.

Reboot when asked to. Repeat "Check for updates/installing updates" until no more updates are available.

As this is a lab environment, "disable" the automatic updates for now; click "Start", type "services.msc" and select the "Services" app. In the Services window, scroll down and locate the "Windows Update" service. Right-click on "Windows Update" and select "Properties" from the context menu. In the Properties window, under the "General" tab, locate the "Startup type" dropdown menu. Change the startup type to "Disabled". Click on "OK" to save the changes and close the window.

Restart and shutdown

Let's do a final restart so all updates are properly installed.

Finally, "shutdown" Windows.